Pages

Showing posts with label Studio. Show all posts

Wednesday, April 12, 2017

We're Hard at Work in my Studio....

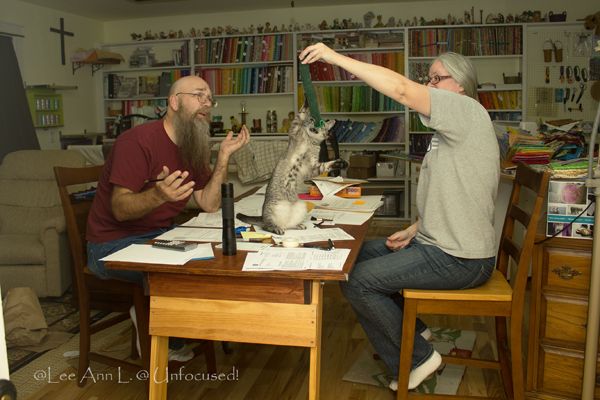
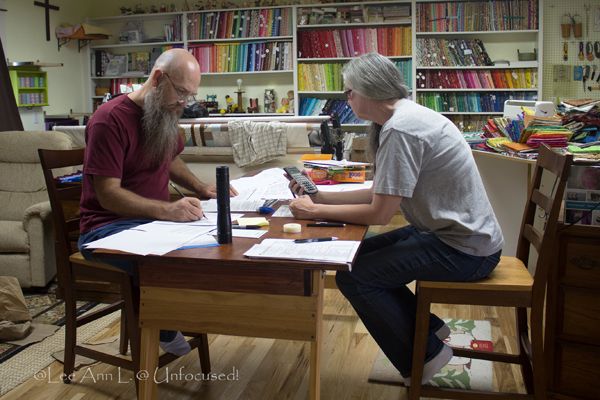
I wanted to show y'all the setup in my studio. I have a craft table that I use for making general crafts and folding laundry on (while watching TV). By the way, we made the table using free plans and it is foldable so that we can put it away if needed. I am going to need to figure out how to raise it up a few inches; but, I am fairly happy with the thing.

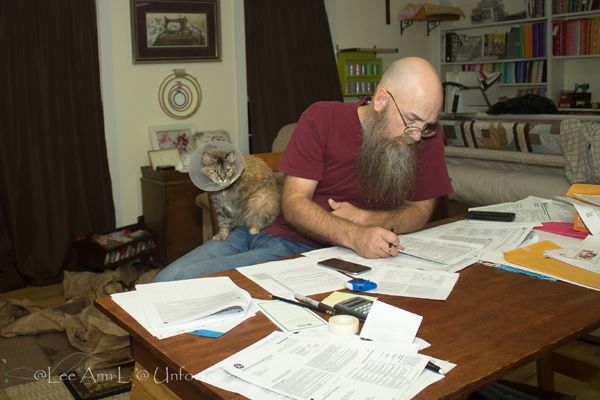
Anyway, we turned that craft table into a desk and were hard at work on our tax returns.

But, the reality is....

the cats wanted attention! (I had to resort to using the flash with a faster shutter speed because both of them were too fast.) This is Abby Gail playing with a kick stick. (Dan: "I'm trying to work here!")

And, Gracie wanted attention from Dan.

(In case you do not see her, She is on one of his legs).

FYI: We went out the next day and purchased TurboTax: Premier edition for $25 off. It ended up being worth the cost because it saved us thousands of dollars. No joke! This is the first year we had to deal with stocks and more and we were not confident of our initial efforts. So, my advice would be, when in doubt, seriously invest in TurboTax.

Wednesday, February 10, 2016

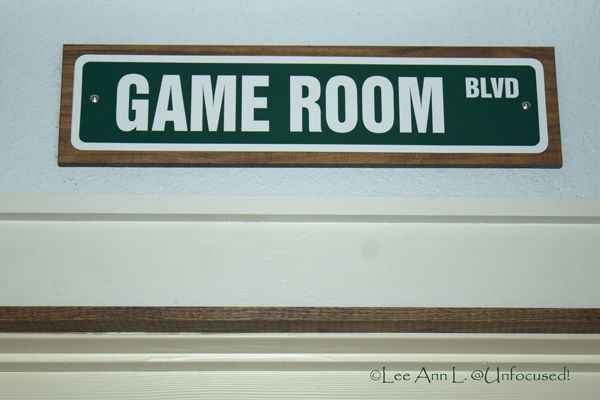
DIY: Game Room Sign

(completed January 30, 2016)

I purchased the sign for less than six dollars. I wanted it to stand out when I hang it above the door; so, the only scrap wood we had that worked was leftover flooring. Dan cut the piece of flooring down to size and stained the edges with a walnut color. The sign was placed on top of the flooring and viola! We now have a sign above the Guest / Game room.

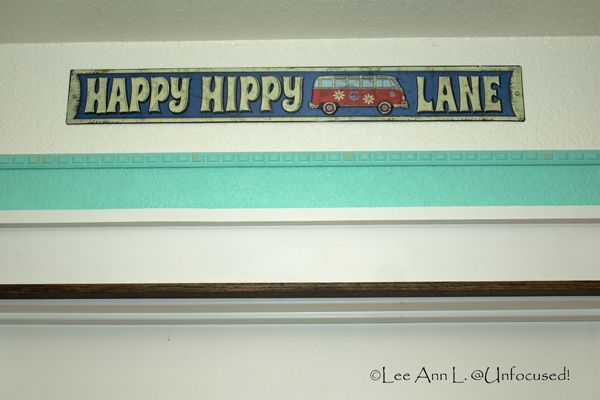
I do not think I ever posted about the sign that hangs above my room (the studio) which was put up eons ago. Here it is:

Signs above doors happens to be a thing of mine lately. I plan to hang one above Dan's office, our room, and the guest bathroom in the future.

Wednesday, April 1, 2015

Wordy Wednesday {A Peek into the Studio}

It has been awhile since I posted anything on the progress in my room. I just have not felt like posting about it of late. We are basically finished and have only a few minor project left. I am still organizing and moving in stuff. I could start crafting and sewing now; but, I fear that if I start doing that before finishing the moving and/or organization, I will never get done.

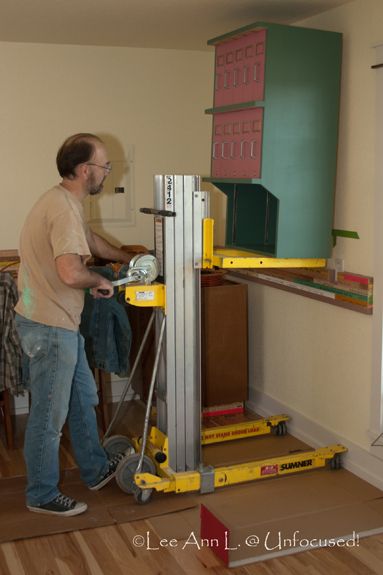
This picture was taken way back in January. In fact, it was on Dan's birthday. These are my beading and storage cabinets that we found at a Moving (Garage) Sale and they were finally hung up. We had a hard time finding the right tool to rent to put these up on the wall; but, we finally found a place that rents them in Converse, Texas. I am pleased with how the cabinets turned out.

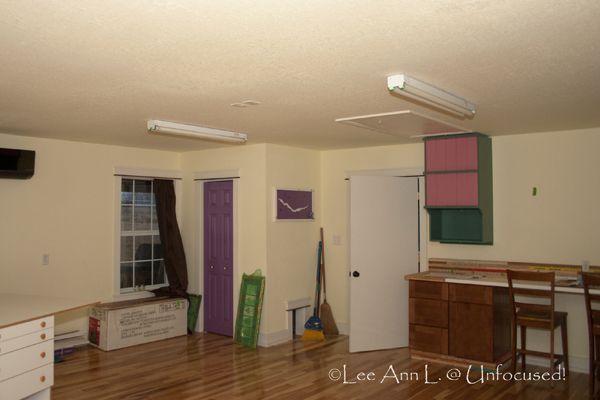
This is a "before" image of the lighting situation. Also taken in January.

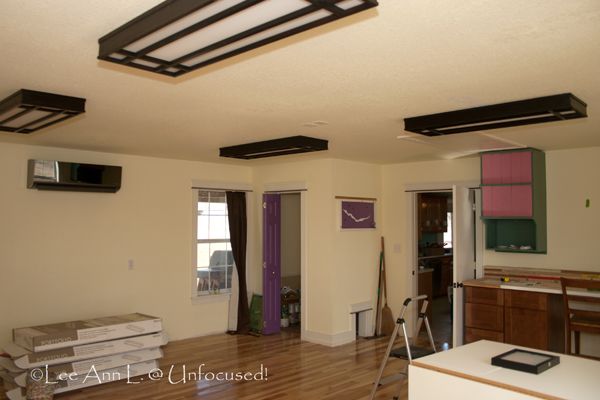
The "after" image! I love how these look in the studio. We added two more lights to the original two. And oh, we also added a light in the "closet".

By the way, only one closet in the entire house has a light and that is in our master bedroom closet. It annoys me. I decided that this closet should have at least a cheap light to see in the dark! I am so glad I made that decision. I am wanting to add lights to the hall closets (at the very least); but, I do not know how to go about doing this yet.

We cleared out the guest room to get it ready for work to be done in there April 1st (today). We are hoping the room will be ready for guest(s) to sleep in soon. It will not be finished; but, at least, people will have beds to sleep upon.

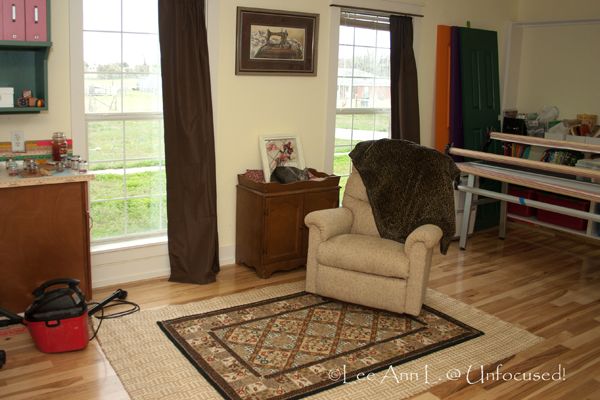
Anyway, we found some rugs buried in the guest room that came from our Houston house over seven years ago. I had forgotten that we had them. I immediately thought they would be the perfect size in my studio for a spot I had in mind. Sure 'nuff, they are almost perfect! Even the coloring seems right for the space. So, I do not have to get anything for this little spot in the studio. I love repurposing things. It is also nice to have something besides the major furniture from our Houston house in this current home of ours.

I purchased the chair a little while later at an extreme discount due to the fact it was discontinued, a floor model and the last one they had. I did not know this until I chose the chair after trying out a kajillion of them. It was very comfortable, smaller in size and felt perfect for (to) me. I thought it would be perfect for the little sitting area. It does seem to fit perfectly in the space.

Dan was the first to use the chair. He used the chair Monday watching TV (which is set above my desk) while I puttered about making some more drawer dividers (organizers) out of yardsticks.

There is only one problem with the little sitting area. When I finally got the area situated (set up) and sat down in the chair to test the space out, I immediately thought of Mother. Do I really need something that 'channels' my mother?!? For some odd reason, this little spot reminded me of her. It made me feel so sad and at that same time, I am glad I have the nice little "visiting" area in my studio.

Wednesday, March 11, 2015

Wordy Wednesday {A Peek}

The Current State of Things. The view is from the kitchen, back door entrance area.

Wednesday, March 4, 2015

Wordy Wednesday {Fabrics}

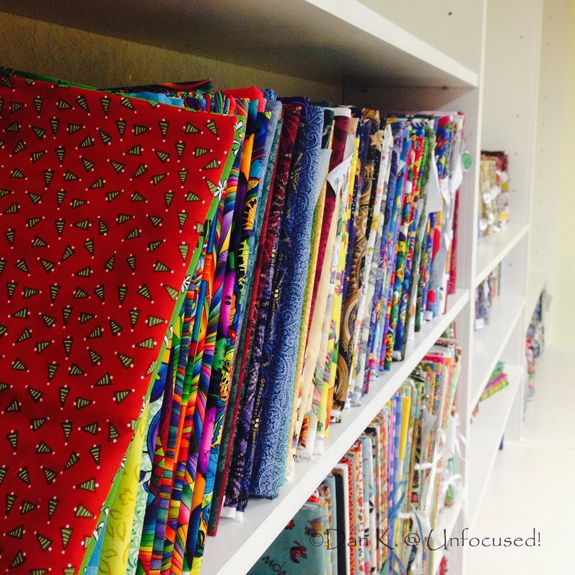
Dan snapped this picture with his iPhone on Sunday, March 1, 2015 while I was loading the built-in with fabrics. I will be organizing them once they are all in the built-in.

We also moved an old desk that will hold an old embroidery machine and my mother's sewing machine and cabinet/desk into my room.

The next item we will move into the studio is the "longarm" quilt frame which will need to be dismantled in the "guest room" and then put back together in my room.

Wednesday, September 3, 2014

Wordy Wednesday {Toekick}

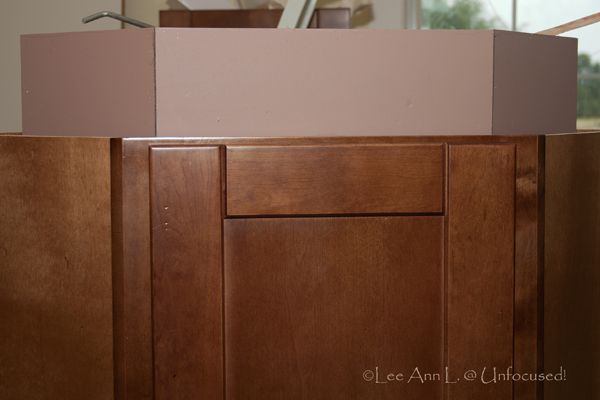
Dan built a toekick for the corner cabinet that I purchased for my desk area. Do not worry, It no longer looks this ugly. By the way, this cabinet was upside down when I snapped this picture on June 21st.

Tuesday, April 22, 2014

Dry Fitting {Desk / Beading Station}

Dan has been slowly slaving away in my room. He has installed window aprons, casings around openings and doors, the detailed craftsman style headers, etc., and etc. Yes, I helped. A little. Ha!

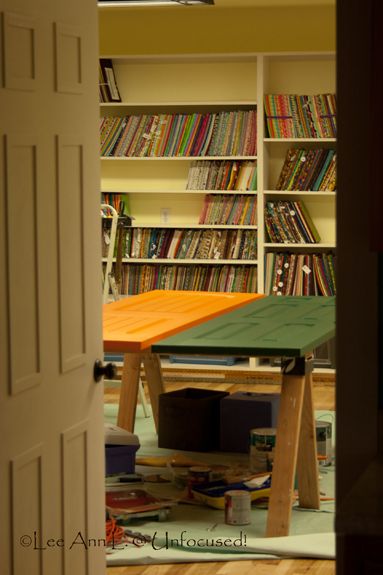
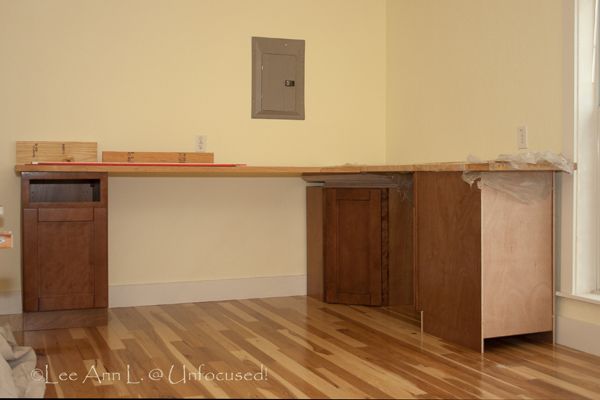
We decided to work on installing the desk / beading station first. Do not worry. It will not look like this when we are done. You will not see that ugly backing of the cabinet amongst other things. This is just a before image.

We purchased both the doors (the countertop / desk surface) and the cabinets from Habitat from Humanity Restore at excellent prices. The doors are solid wood and were $30 and $15. I have to tell you that I LOVE shopping at the Habitat stores.

There will be some minor work done to the cabinets themselves to make them look nicer in this room. I will not go into all the details in this post as I do not want to spoil the surprise. I know some of you have a real good ability to imagine how things will look in the end if given details.

Dan cannot really see what I envision for this space and how I want things done; but, just seeing this staged and seeing things in my mind's eye is getting me excited! One step closer to having a beautiful and functional space!

Tuesday, April 1, 2014

Making Decisions == Headaches {True}

{About the title: '==' is a relational operator meaning "equal to" in a programming language (C++). In other words, does making decisions bring on headaches? In my case, the title evaluates as true. Yes, I am being silly playing around. I miss programming; but, I do not miss the rat race that comes with the career.}

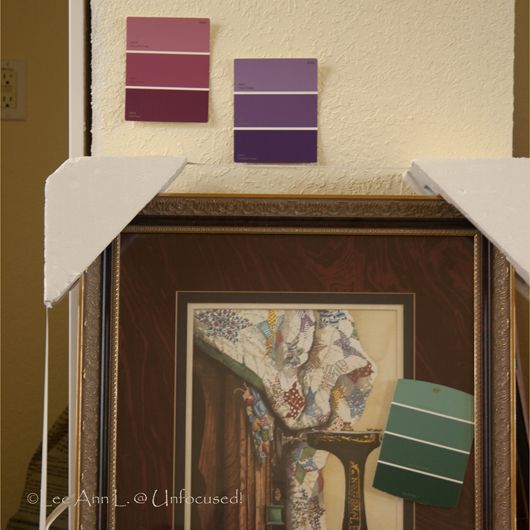
I have a framed picture that Dan bought me years ago. It used to hang above our fireplace in our north Houston home. It is now going to be placed in my room. This piece is the inspiration for colors within the room. As you can probably see, the wall color is an extreme close match to the background color of the picture.

I have colors chosen for a project; but, I cannot decide between the top two middle colors. (The green color is for another project).

I was looking at them Monday night and was thinking that the rose color would be best. However, in the light of day yesterday (which is when I took this picture), I really liked the purple. Yes, purple is not one of the colors in the painting; but, it coordinates. At least, I think it does. And besides, purple is one of my favorite colors. (The other favorite is green).

The problem is what is really the best color to choose? Hmmmm... I dislike making decisions like these as it gives me a headache. I think it is the stress of wanting to get it correct (pleasing to the eye) and yet, making me happy at the same time.

Friday, March 28, 2014

The Garage Conversion V {Flooring}

You can see the previous post here.

We picked up the flooring on January 19th and starting putting it down on January 25th. I could not wait and opened up a box immediately to look at the flooring.
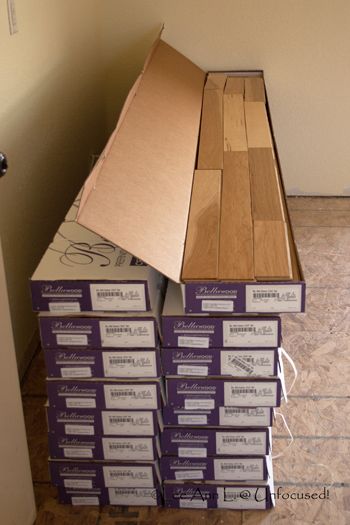
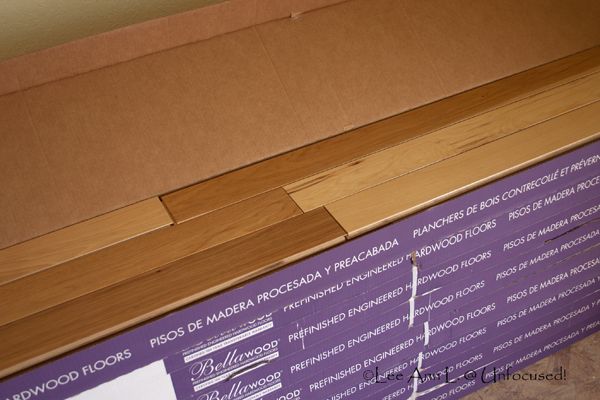
It turned out prettier than I imagined from the itty bitty floor sample in the store and I was thrilled.
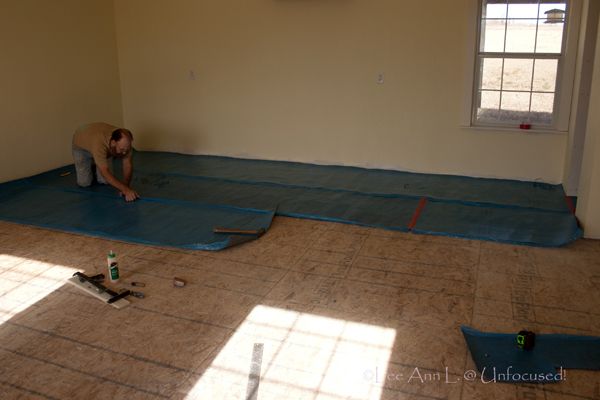
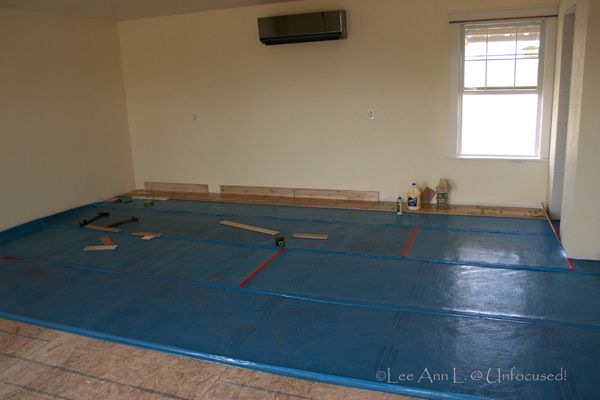
We first laid down underlayment for approximately half the room.
We then began laying down the floor. The first several rows is always the hardest.
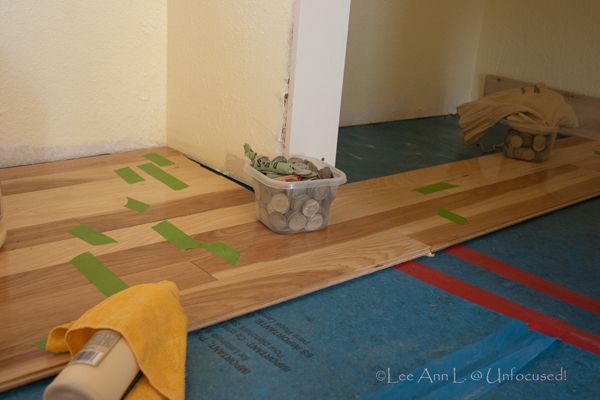
Custom cuts around closets always slows the process down.
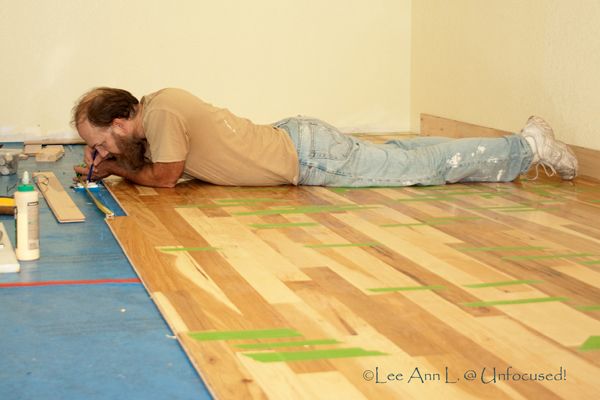
And, around outlets. Yes, I have an outlet in the floor! It's going to be perfect having this!

From here on, work went at a steady pace and abruptly came to an end when we hit the doorway between the kitchen and the room. The door was an exterior door and the threshold was giving us fits. We decided to shift our focus to doing some work outside because the weather was beautiful. In the meantime, we discussed and debated the problem and eventually decided to get a new interior door.
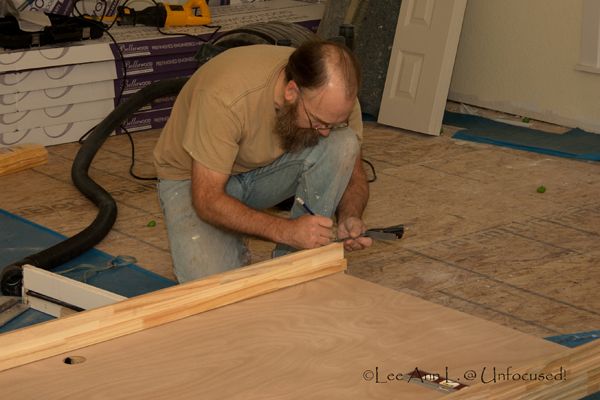
It turned out that due to the height of the tile, flooring and threshold, the new doorway casing and the door itself needed to be trimmed. I have seen DIY shows where this was done and Dan did exactly what I have seen on those shows. It turned out perfect! By the way, we kept the exterior door and it will go to the shed or chicken coop we plan to build in the future.
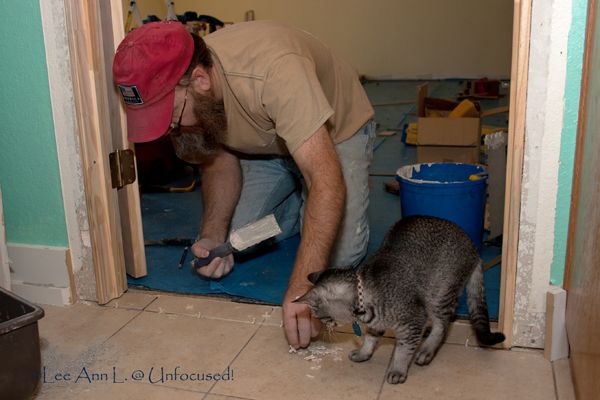
Replacing the door meant having to do some tile work because the old threshold was HUGE. Thank God the previous owners left behind the leftover tile from the kitchen and bathrooms. We had kept and reused the tiling tools from a job we did in the north Houston house.
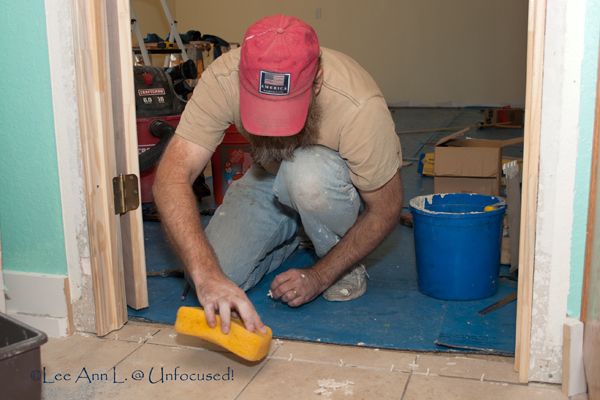
Cleaning up the tile adhesive.
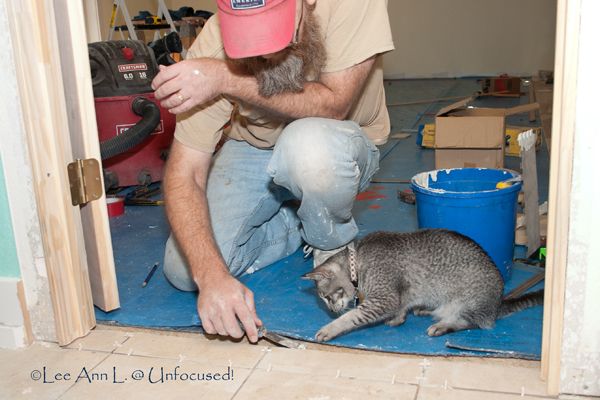
As you probably already saw, Abby Gail was Dan's little helper. She was fearless and into everything.
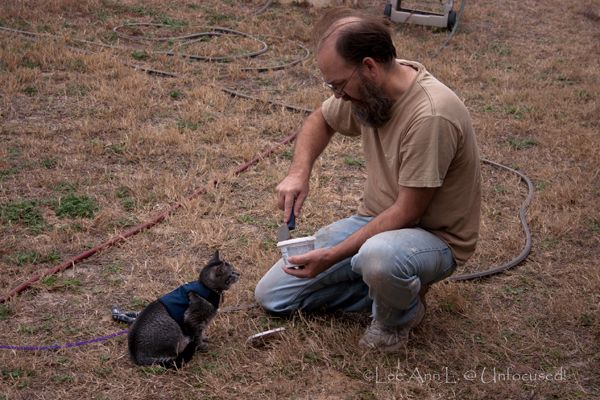
Mixing up the grout. We choose the grout color that closely matched the existing grout in the kitchen. It was all from memory. Actually, from my memory as Dan does not remember details like I do.
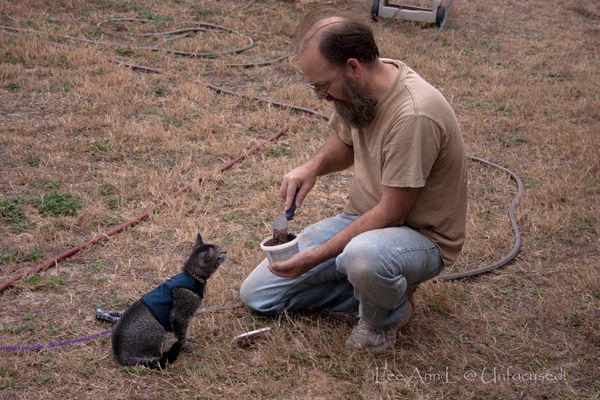
Abby Gail was begging to see what he was doing.
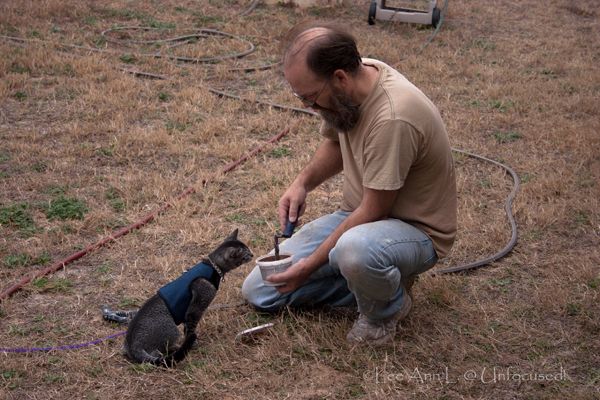
So, Dan let her have a look. She was then content and went on exploring the yard.

Once the grout was put down, we sought to get some threshold. Shopping for the new threshold was a nightmare. Apparently, the company that makes this floor does NOT make the matching threshold we needed. It was frustrating. But, Dan persevered and found some that is a close match to the floor. This process took a couple of weeks.
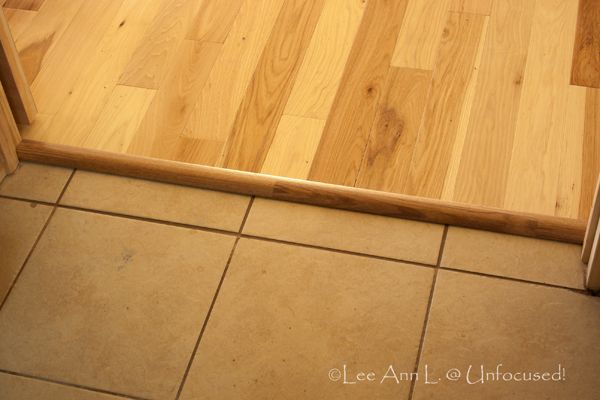
Not bad considering what we had to work with.

By the way, we are planning to get someone to come out and clean all the kitchen and bathroom tiles and reseal the grout. Honestly, I do not think sealer was ever applied.
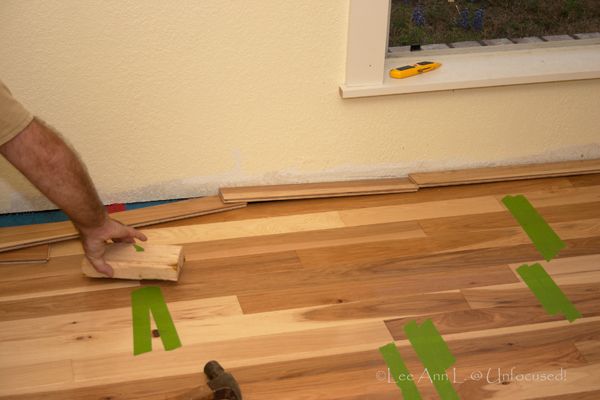
The last row of flooring! March 16. 2014.
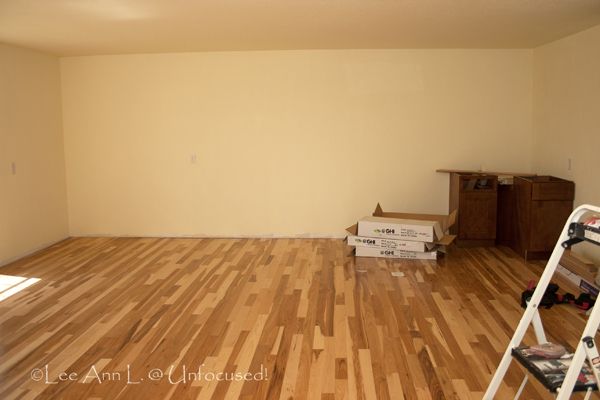
We are very pleased with the floor.

We are now working on priming and painting the new door, casings, baseboards, etc. and etc. I will have to do a blog post about what I did to the door itself (the kitchen side) because it was so plain!

Wednesday, February 12, 2014

Wordy Wednesday (Got OCD?)

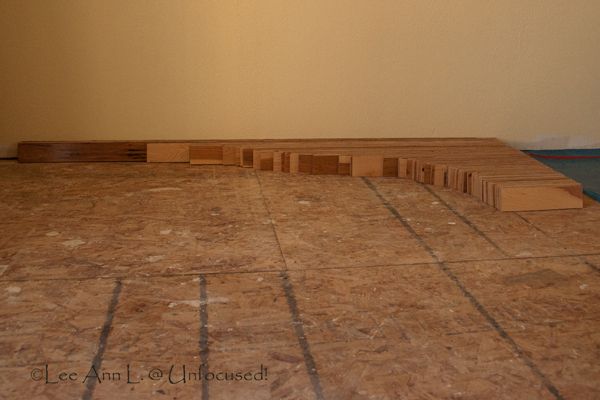
The flooring we bought comes in all kinds different lengths. It is unbelievable how many different lengths exist. I tried for awhile to just eyeball what we need and grab a board here and there and try it out for size. This eventually drove me batty. So, while Dan was working on putting down a portion of the flooring inside the closet, I organized the remaining boards.

Can You Say OCD?

Once they were all lined up and organized by lengths, I was a much happier camper. From hereon, I used the measuring tape and eyeballed about what length the next board should be as we do not want the joints to be close together. I would then go and grab the board that was closest to the length I wanted and drop it down in place. When the supply got low, I would open up another box and add more boards to the lineup.

Dan laughed when I started my madness (of organizing and lining up the boards); but, he noticed my new method of laying down the flooring was much quicker than before. So, I think, in the end, he approved of my madness.

Wednesday, February 5, 2014

Wordy Wednesday {A Helping Hand}

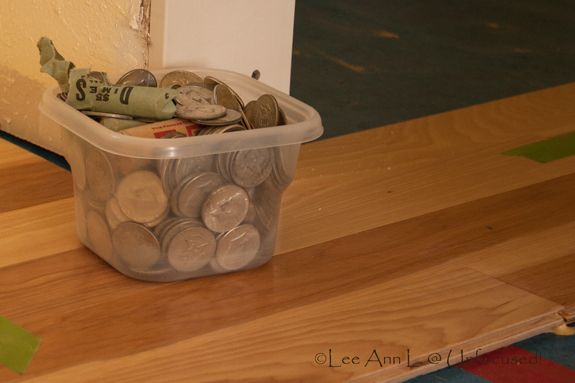
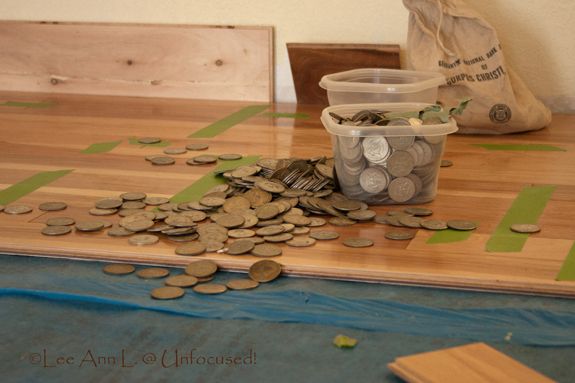
We had started putting down the flooring and we needed something with weight. I thought of the coins Dad left us. They are heavy and they would work. So, I dug them out and took them into the room. While taking a break and surveying all we have done, I looked at the coins and thought to myself, "Dad is still here giving us a helping hand".

It has been over five years and yet, I still see (and think of) reminders of him. I had to take a picture and while taking one, Dan was curious and asked me if I was taking a picture of the coins. So, I told him what went through my mind and he smiled.

Several hours later, something happened that got us both staring in confusion and then in amusement. I even laughed.

Dan had stacked two containers of coins and the top one can tumbling down. A thought crossed my mind and then I said it out loud. "Dad, are you trying to tell us something?" This caused Dan to laugh which is a rare thing to hear from him. That alone made my day.

Friday, January 31, 2014

The Garage Conversion IV

It is about time I did an update, correct?

You can find the previous post here.

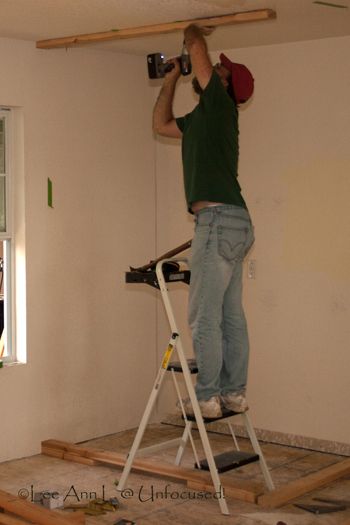
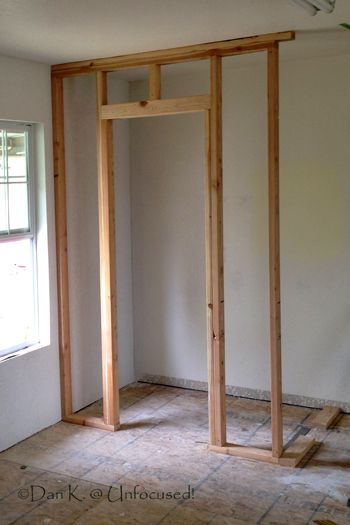
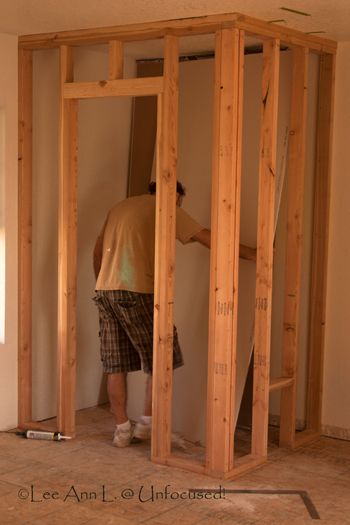
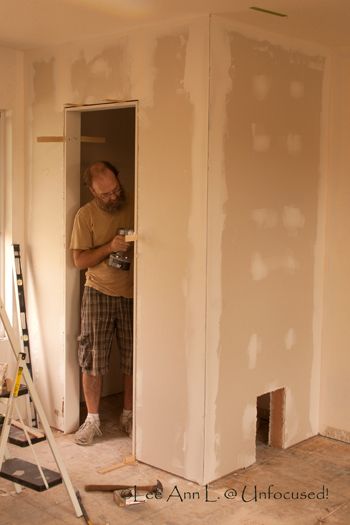
Started Building the Closet on 11/10/2013

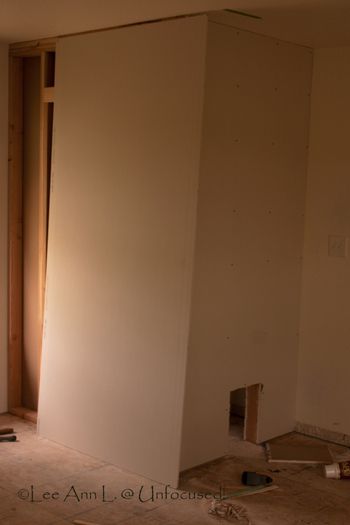
Putting up the drywall on 11/16/2013

Door frame is put up on 11/17/2013.

As you can see, the drywall on closet has already been taped and mudded. It took several weeks of deciding on what to do about applying texture. A contractor cancelled the job and then Dan decided to do it himself. We rented a machine and the job turned into a major event; but, he persevered and got it figured out. I am really proud of him.

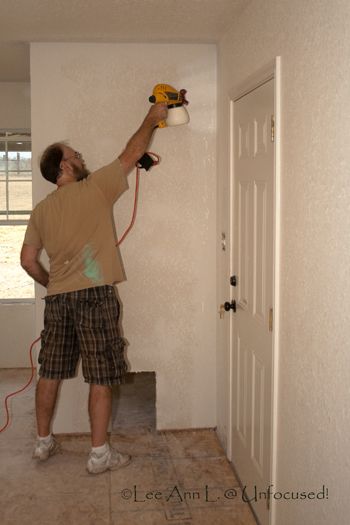
Priming all walls started on 12/21/2013

As you can see, Dan used a spray painter to cut the corners. I tried using it and let me tell you, it takes a lot of effort to use the toy as it is heavy! By the way, priming the walls took a lot of effort, paint and time as the new walls just sucked up the primer. We vastly underestimated the amount of primer we needed due to this fact. But, we eventually got it done.

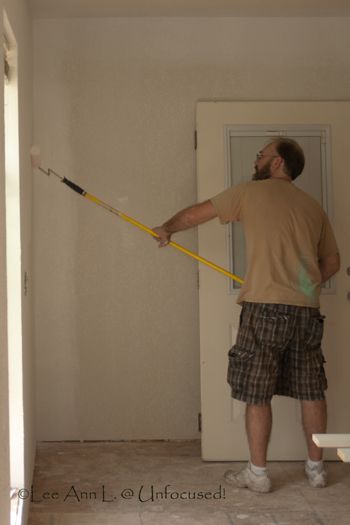
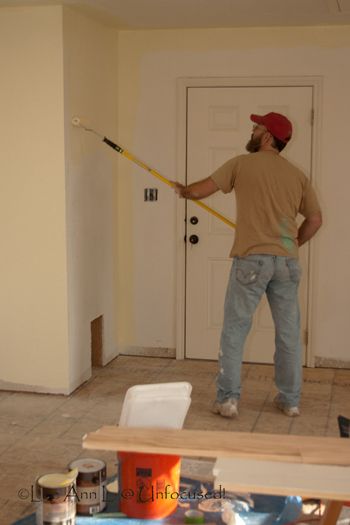
Painting all walls on 12/28/2013.

We also used the spray painter to cut the corners in this step. I went with a color called Soft Candlelight (Glidden; GLY16).

From here, we were very disorganized. We could not decide what step to take next. We eventually decided to order the flooring and that was on back order. Dan realized that the A/C and Heating can be installed now that the room is essentially complete. So, he called them to come give us a quote. We decided to go with the quote...

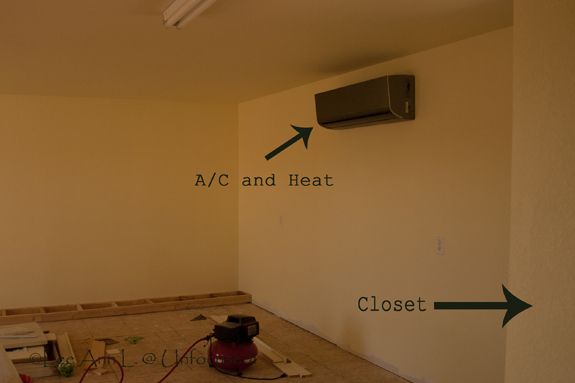
A/C and Heat was installed 1/11/2014.

The lighting was horrid on this day. So, the picture is awful. This is what it looks like looking out into the room from the kitchen. The A/C and Heat unit was bigger than what we wanted; but, the unit quoted was not in stock; so, they gave us an upgrade for free. We will not argue with that. I can always bling it up if I want to in the future as it is ugly. But, it is functional. The guys did an excellent job of installing the unit for us.

We picked up the flooring on 1/19/2014 and started putting that down on 1/25/2014. That will be in another blog post.