
Both Dan and I are lazy. We tend to leave little bits of trash, such as strips of plastic from prepackaged shredded cheese, all over the kitchen island. Rachael Ray has a garbage bowl. Well, so do I. But, instead of a plastic bowl, I use a recycled Slimfast container. And, this is only used for trash – not for food to compost.
I use a different kind of container for food that is compostable, which usually is an old empty plastic Folder’s container with a couple of recycled fruit/veggie or Wal-Mart bags inside. Speaking of which, I need to find people who buy coffee in the big Folder's containers and beg them to save me a container or two or three because we don't drink coffee. I used to grab empty containers from my folks; but, life changed and well, they are no longer available through them and I now have to find another source.
Once my garbage (Slimfast) container is somewhat full, I take it to the garbage can and dump it out. This keeps the island somewhat neat and trash free. This container lasts for a long time because we do not throw anything in it that could potentially cause grossness to breed.
I disliked the look of the Slimfast container itself; so, I decided to change the look. I have learned a few things from reading crafty blogs. This idea is taken from the various bloggers who do these kinds of crafts. I cannot really pinpoint nor remember any one blogger who was the inspiration for this. I just took what I learned over the years and ran with the idea that I had for this container.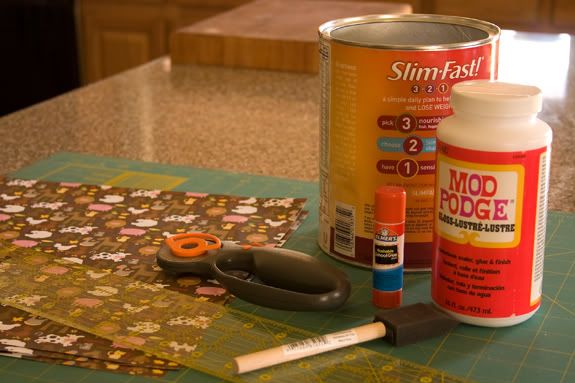
I found some cute scrapbook paper on sale at Hobby Lobby. It had pigs! And, a brown background! (Pigs are my thing for kitchens and I love the color chocolate brown). I bought four sheets – two to use now and two to use later, should I ever need to replace this container.
You’ll need a variety of tools to get this job done.
- Rotary cutter (using an old blade), mat, and ruler or scissors along with pencil to mark where to cut the paper
- Mod Podge and a brush
- A recycled container of your choice. I used a large Slimfast container.
- two sheets of scrapbook paper
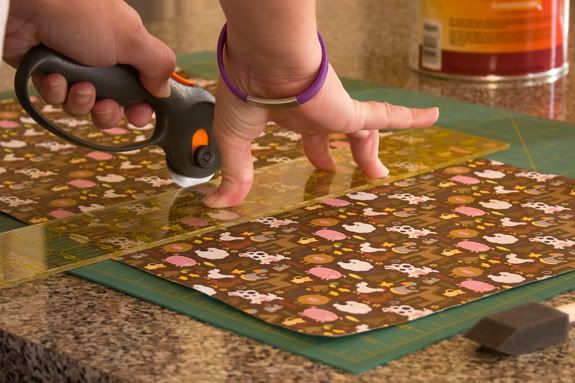
The first thing I did was overlap two scrapbook papers to match up the pattern. I then cut through the two layers creating a seamless joint between the two. (A rotary cutter with mat and ruler makes this so much simpler because there is no marking involved.) I then measured the width of the container and cut the two pieces to fit the container.
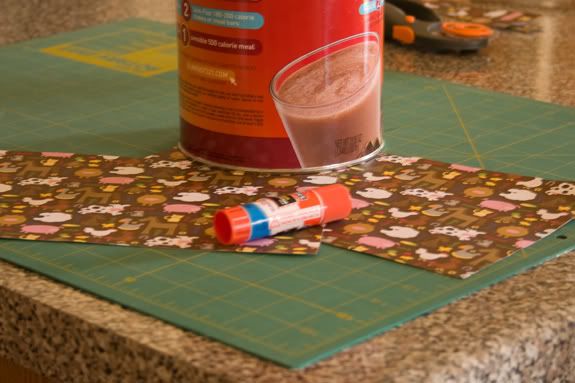
This is where I would change the process next time. I used a glue stick to place the paper onto the container. Next time, I will remove the Slimfast paper from the container, then use Mod Podge to stick the scrapbook paper onto container and then spread Mod Podge all over the top. Lessons learned.
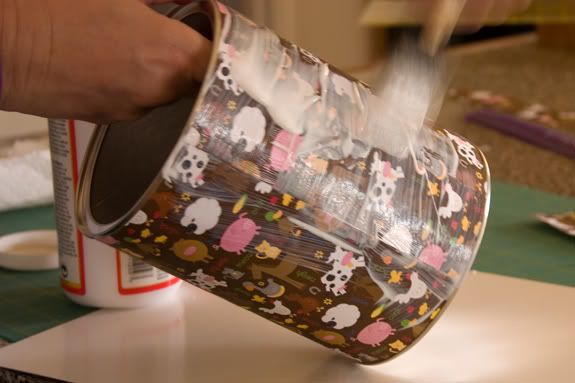
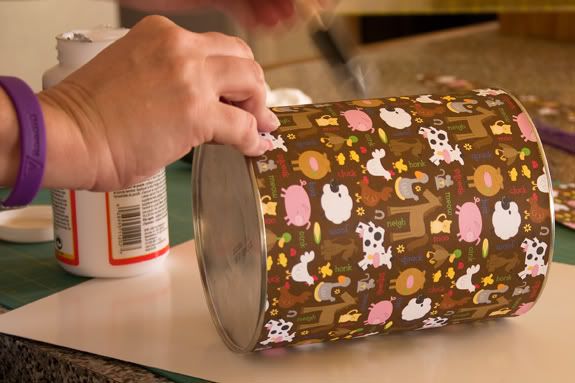
Once the paper was stuck onto the container, I took the Mod Podge, spread it all over the paper with my brush, and let it dry.
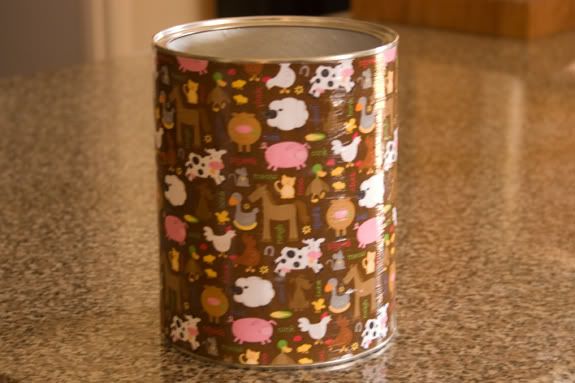
My “new” garbage container. I like it very much in spite of some flaws. And, it now looks great in the kitchen. Note: This was not quite completely dry when I took the picture. I was impatient and needed to clear the floor (I was using a tripod to take pictures of the process). I did not want to come back and set up the whole thing again to take a final picture. AS I said in the beginning -- I am lazy. I really like this project and would do it all over again in a heartbeat.

I am linking up at: Today's Creative Blog,


Awesome idea. Love the recyle/reuse aspect of this.
ReplyDeleteBTW I'm hosting a 12 FAT quarter Fabric Giveaway. Come by and check it out when you get a chance :)
Q @ http://www.jaqsstudio.com/
Oh! That did make a really neat little trash can!
ReplyDelete