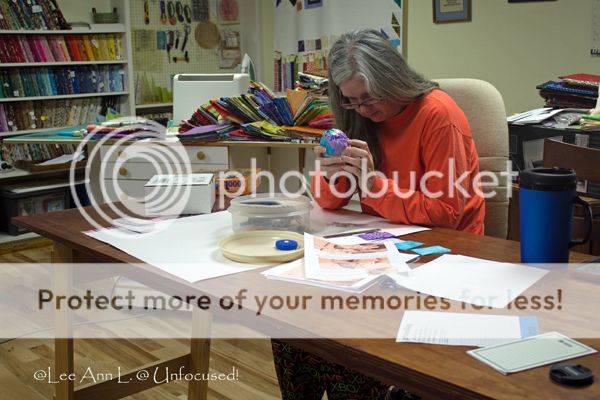
{Working on March's Ornament kit; Shot on April 18, 2017}

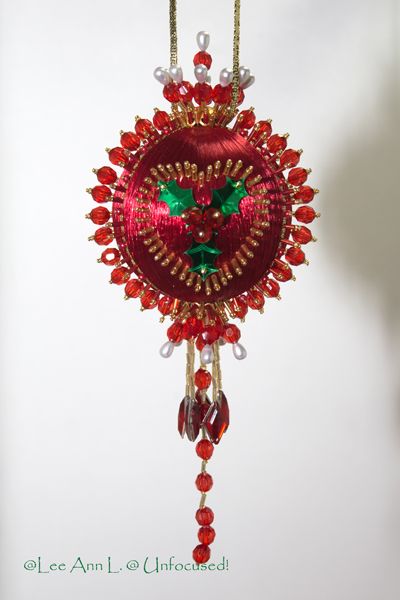
I recently completed this beaded and sequined ornament. This was part of a kit (set of three). The instructions had mistakes, not to mention the ornament does not match what is pictured. The bugle beads would slide up inside the red faceted beads. Fun. Not! I had to come up with ways to prevent this from happening. I used glue in some sections and rocaille beads in others. I made it work.
I am once again disappointed with a kit. Also, I am seriously irked with the deception on the manufacturer's part (picture and supplies do not match what is actually received).
With all that said, I will be making at least one more out of this kit. But first, I am returning to the Gypsy Wife quilt now that I am feeling better. (I made this ornament while resting and watching TV).

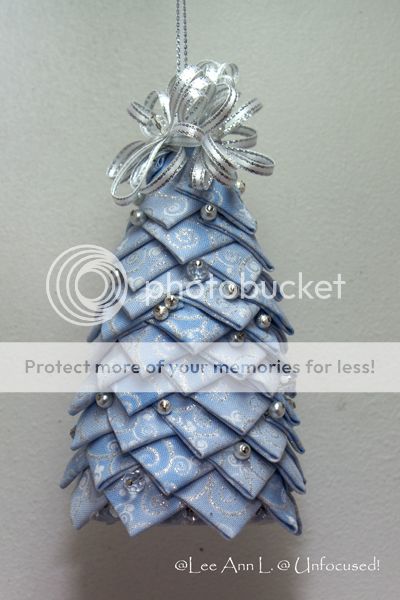
This is not a very good picture and it does not do it justice. I finished this ornament yesterday (February 6, 2017). I am fairly pleased with the thing. At first, it was hard to let go of perfectionism; but, that is exactly what I needed to do with this kit. I realize that the tree is perfectly wonky; but, hey, that is how real trees are in life.

If a kid ever wanted to make an ornament for themselves, I think they would have a blast dipping into this bin of mine! I know I made a few ugly ones in my youth from extra supplies my mother kept; but, they sure were gorgeous in my eyes back in those days.

I finished the project yesterday afternoon with much fussing and such. It has been years and years since I made one of these kind of ornaments. But, while I was working on it, I was happy and content. I thought it turned out beautiful.
I had Dan hang it up in the designated spot before I even took a picture. So, the pictures below are not the best. I actually stood up on a ladder to take the first! Ha!
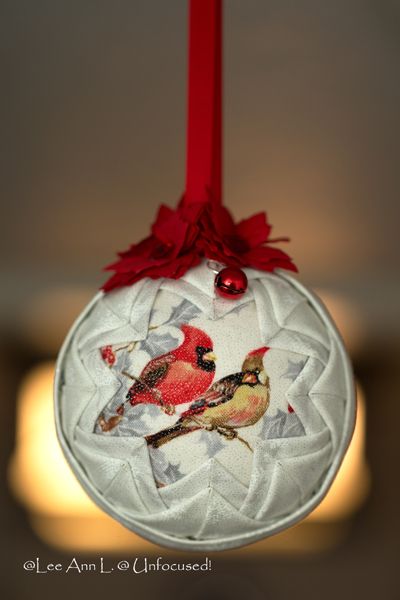
It is hanging in our hallway which I have turned into a "Christmas room". Yes, I am nuts; but, I do not really care what others may think of the things I do.
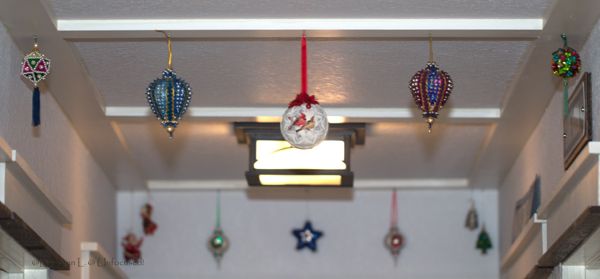
The big ornaments hanging beside it were made by my mother and hung over the bar every year at her house. These were the ones that no one picked for themselves and I'm glad now because they are beautiful where they are.

And now, onto a different subject. 2016 is about to end. It wasn't too bad of a year with the exception of an extreme depression time, dealing the chronic issues and the death of an old acquaintance who I was enormously fond of. She was my sister-in-law's Aunt. In spite of all this, I feel that I managed to accomplish more than I have in the past few years. The one thing that I picked up is Bullet Journaling that I believe helped me out immensely.
I am extremely thankful for so many things.
Life.
My husband, Dan.
Abby Gail, my buddy.
Family.
Friends.
The ability and space to create.
The only resolution I have for 2017 is to try to create (make things) more.
May 2017 be good to you all!

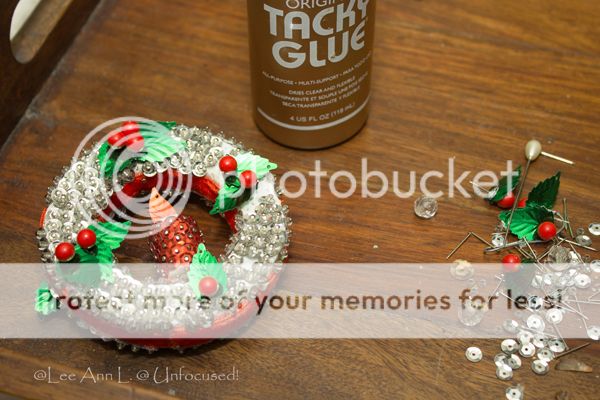
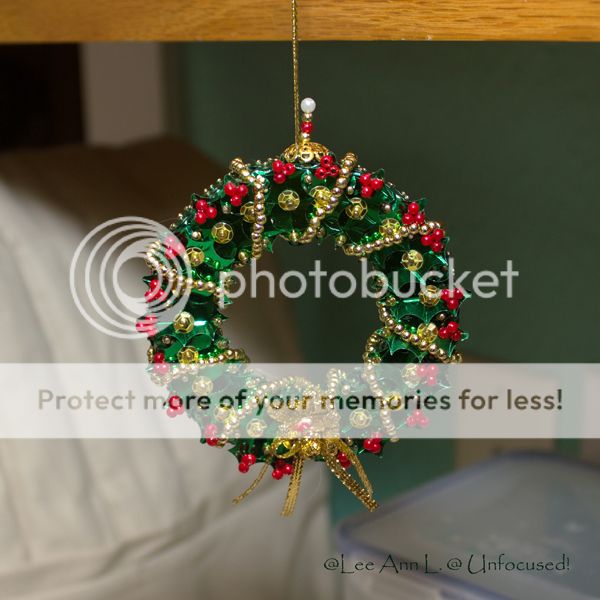
This was a kit and I it found bagged in a small aluminum foil pan up in my mother's kitchen cabinet above the refrigerator. There was another foam wreath in the kit. FYI: I love ornament kits and have tons stored away that I purchased over the years.
I decided to take the kit for myself. I thought I could repair the one pictured; but, the damage was too severe. I ended up cannibalizing the old one to make a brand new one with the extra foam wreath. (There was not enough supplies to finish a new wreath.)
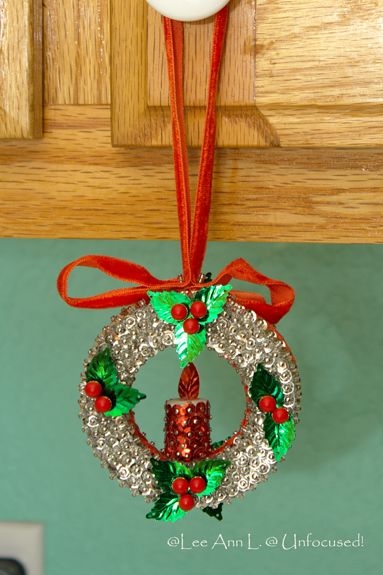
The maker of the kit is LeeWards which is no longer in business and, after many stores closed, it became Michaels. The kit was dated 1976. I also found a sticker price of $1.89. Wow. I was eleven or twelve years old when this kit was packaged together for sale.


General

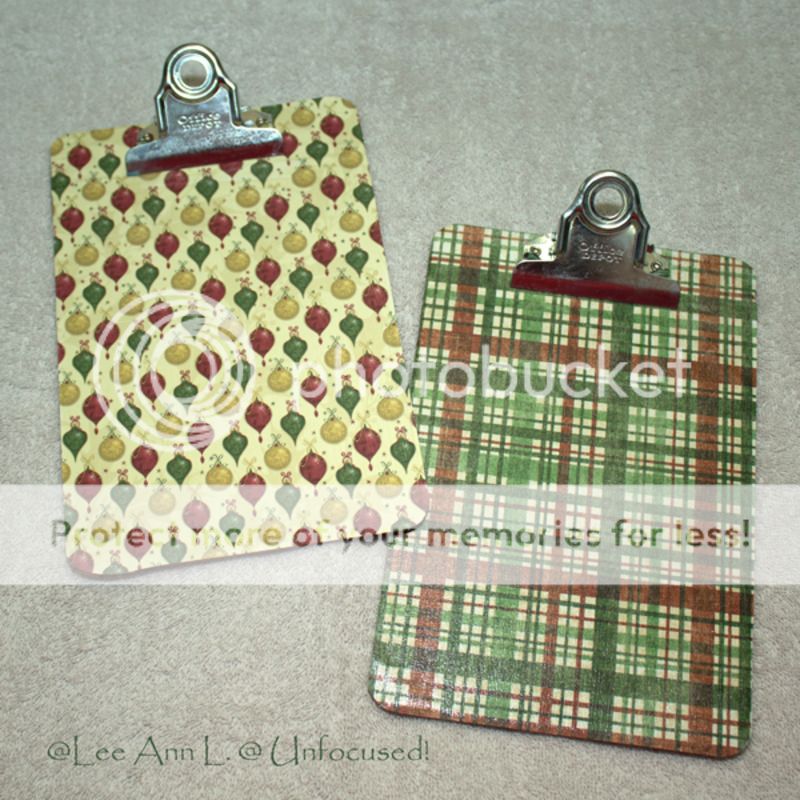
“All that is gold does not glitter,
Not all those who wander are lost;
The old that is strong does not wither,
Deep roots are not reached by the frost.~ J.R.R. Tolkien, The Fellowship of the Ring ~


General
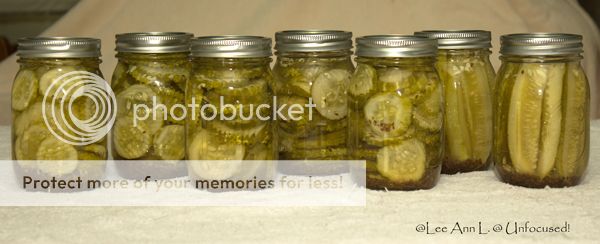
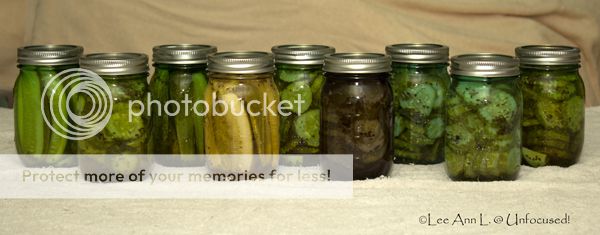
I think we will have another batch of pickling cucumbers soon and we will make even more pickles! I will have to give some away because there is no way we will be able eat them all within a year!
The storms lasted until late morning here and then Dan started working on the barn. The porch post braces were added and I really like the look. The beam to hold the upper porch trusses was also added and the braces for the Barn’s trusses were beefed up on the other side. Not much was done because it was a holiday weekend and Dan deserved to take some time off.
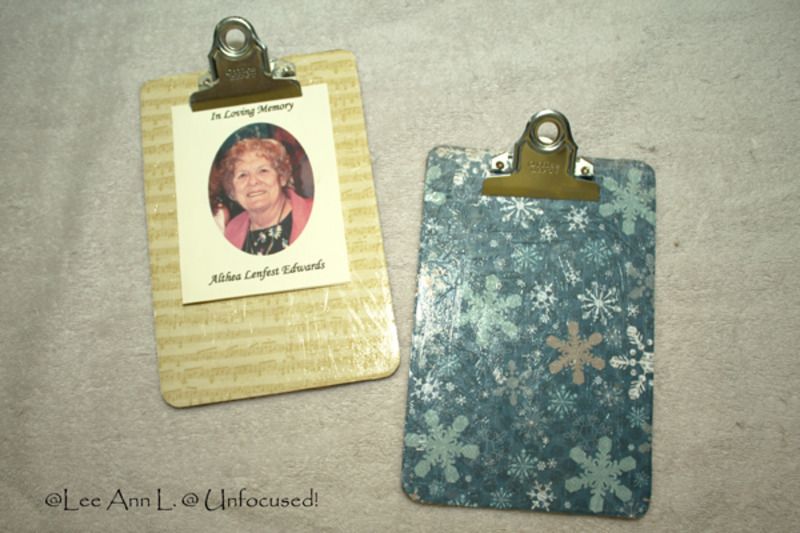
I do need to figure out how to streamline the crafting process and clean up the actual craft better. But hey, they are good enough to hang in a darkened hallway and I can always claim that they are supposed to look like crap! Ha!
Ohana means family. Family means nobody gets left behind or forgotten.~ Lilo and Stitch (movie) ~


General
A severe thunderstorm in the night caused us to make repairs to the barn trusses first thing Wednesday morning. I discovered a day later that there were some damages from wind in the surrounding areas. I think we were very fortunate that the trusses were just a tad tussled. I believe I mentioned and posted a picture in my last post about the shed.
A time will come when instead of shepherds feeding the sheep, the church will have clowns entertaining the goats.~ C. H. Spurgeon (1834-1892) ~

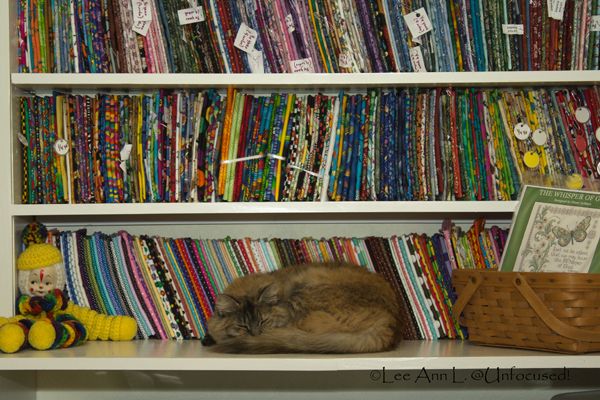
I could not find Gracie and looked everywhere for her. Much to my surprise, she was eventually found in an unusual spot. She looked so content that I did not disturb her.
By the way, the crochet clown doll on the left is the very first one my Mother made. She was going to undo her work "because it was just practice"; but, I would not let her. I grabbed and stored it in my room and never let it go.
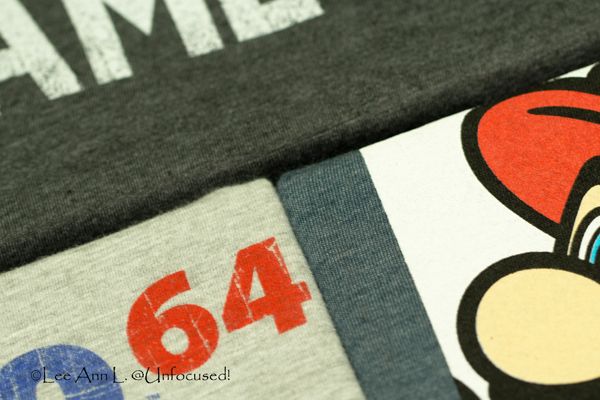
As promised to a friend, here is the process or "tutorial" on how to make a canvas wall art out of a t-shirt. But first, I must tell you that I started out with a different t-shirt. I even had an annoying helper, Abby Gail.
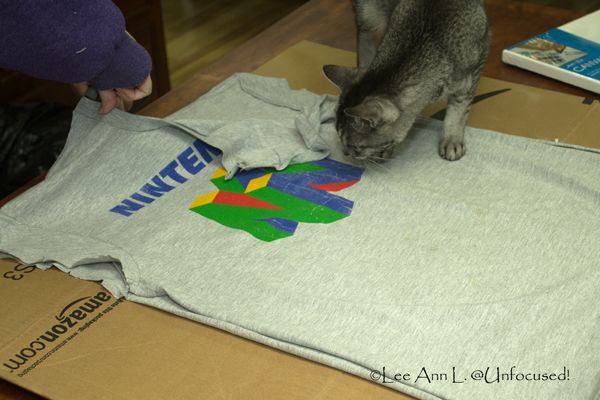
And then, I totally got distracted and forgot about taking pictures. So, y'all are fortunate that I wanted five of these things. Yes, five!
I was able to start the process all over again. I was successful in my endeavors with the fourth one I made. So, here is the process. By the way, this is in no way a professional "how-to" with pictures. I did the best I could under the circumstances. It is what it is.
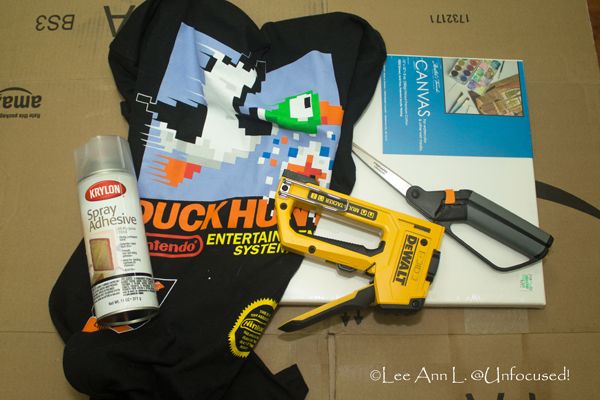
You will need the following:
If you plan to do this indoors, I would recommend
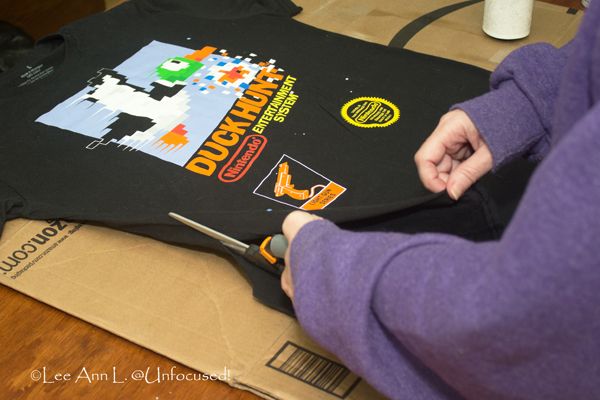
Step 1
Cut the shirt along the sides, seams of sleeves and shoulders. Keep the back of shirt.
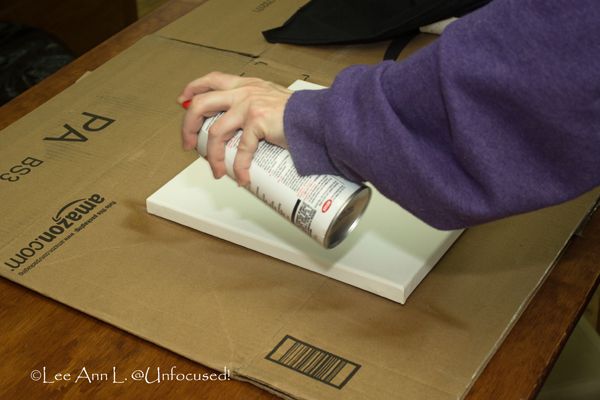
Step 2
Spray the adhesive onto canvas (after following instructions on the can).
Carefully lay the back of shirt onto canvas and smooth down.
Note: You do not need to do this step. However, I preferred to do this to keep the white of the canvas showing through the top of the shirt itself.
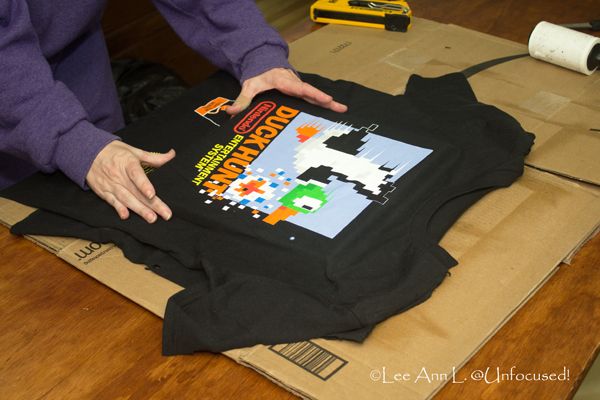
Step 3
Dry fit the top of shirt onto the canvas.
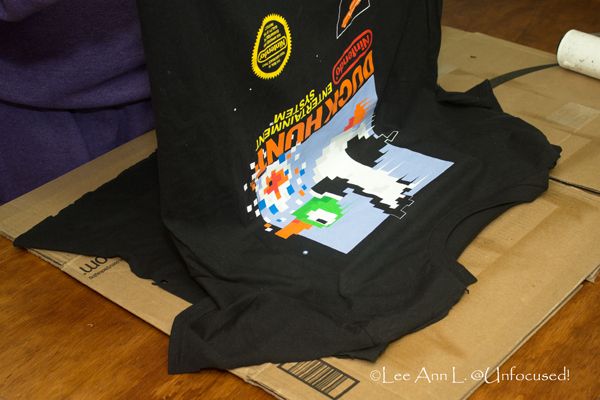
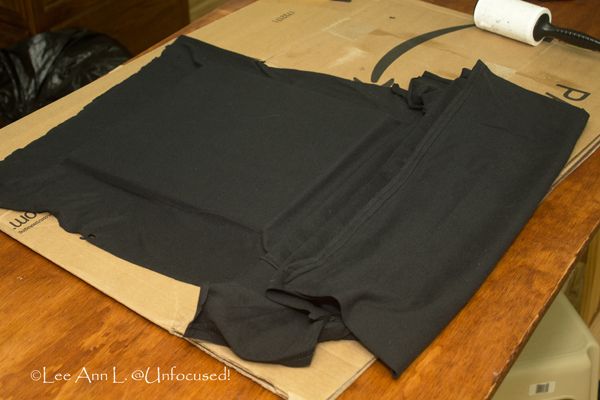
Step 4
Once you have the top of shirt positioned, carefully lift it and let it puddle at the top on cardboard.
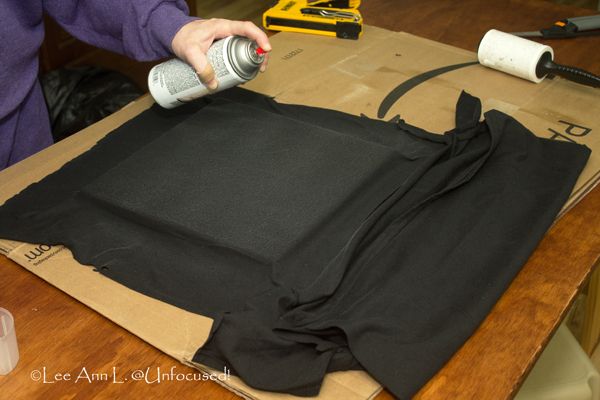
Step 5
Spray the backing of shirt on canvas with adhesive.
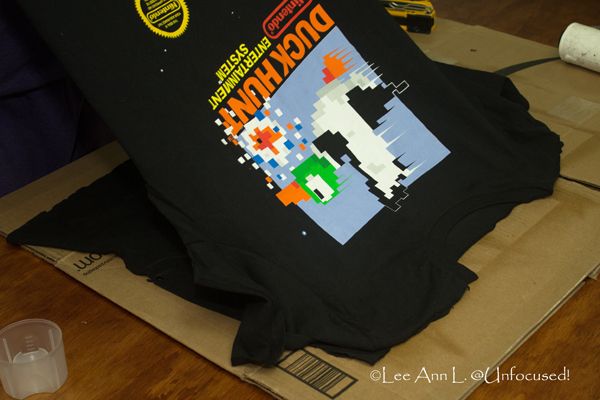
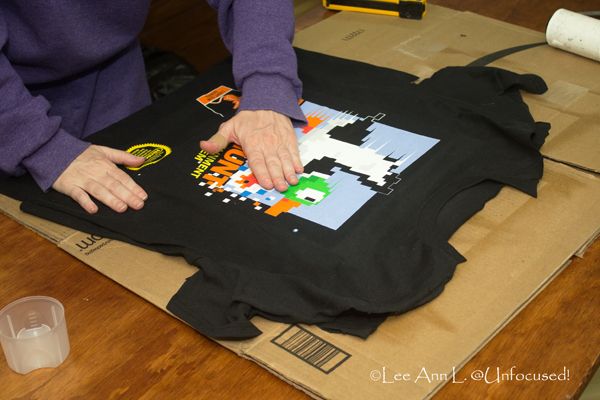
Step 6
Carefully lift the puddled shirt and lay it back down onto the canvas. Smooth it down in place.
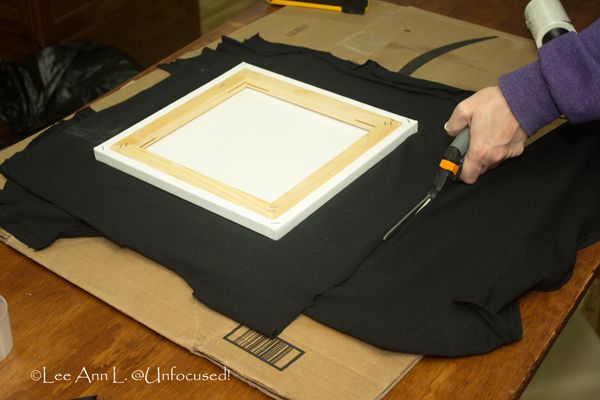
Step 7
Flip the canvas over and cut away extraneous fabric leaving enough on all four sides to staple to the backside of canvas.
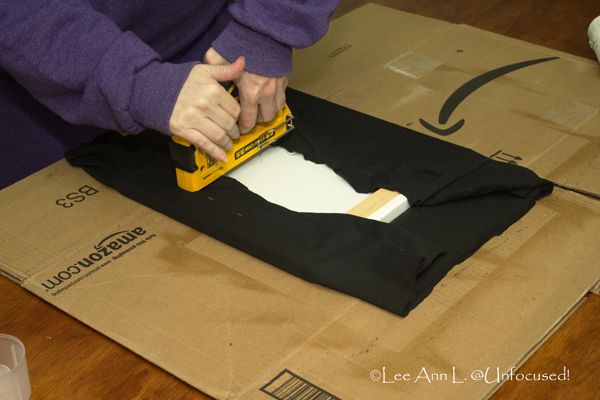
Step 8
Begin by lifting one side of shirt onto backside making sure wrinkles are smoothed out. Carefully place a few staples through the shirt onto the canvas. You will need to leave room near the corners to be able to manipulate and fold the fabric to make the nicest corners possible.
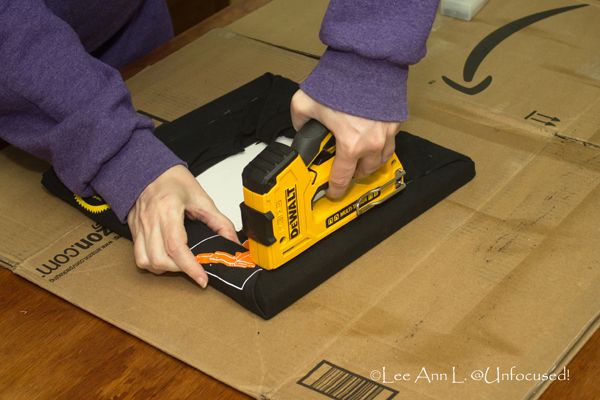
As for the corners themselves, I pretended I was wrapping presents. It is a little difficult and you need patience to do this part. I ended up making two creases per corner. Once I had the corners just right, I stapled the fabric in place onto canvas. There was no easy way to show how this was done via pictures. What I really needed was an assistant to help out with the photography part. Abby Gail was completely useless. Ha!
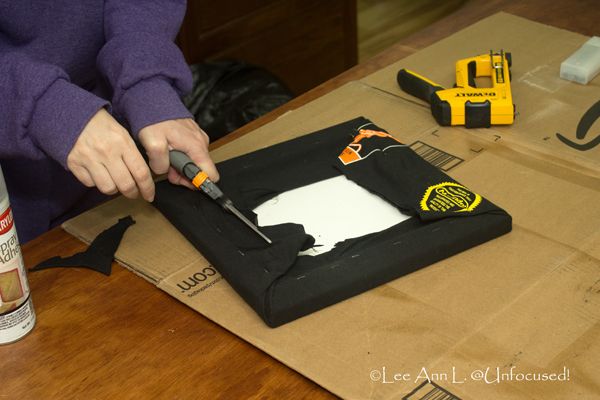
Step 9
Trim off excess fabric. Do not cut too close to the staples. It is better to leave too much fabric than not enough.
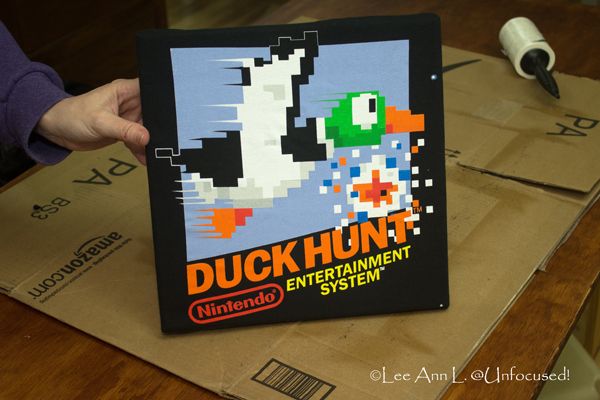
And, here is all five!
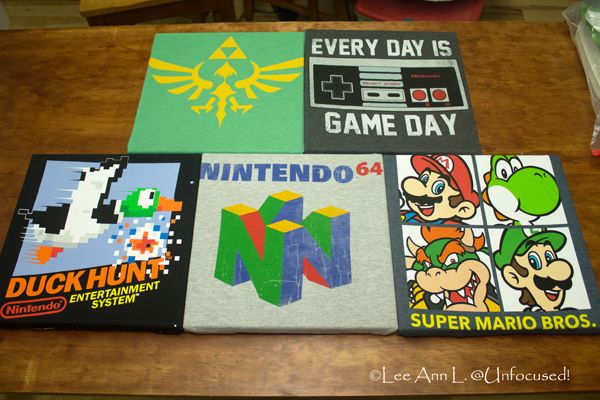
These were fairly cheap to make. I purchased the t-shirts for $10 each (50% off at Kohl's). You can use gently used shirts that you have on hand too. I bought the canvas on sale from Hobby Lobby. I already had the other supplies on hand. So, I guestimate that it is approximately $15 for each t-shirt wall art.

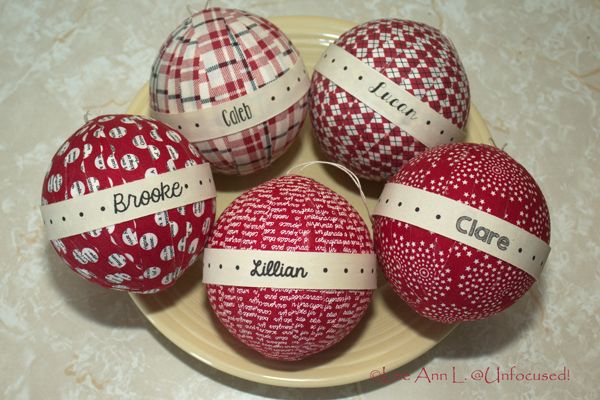
Completed on December 10, 2015 using instructions and fabrics from Sweetwater. I made these ornaments for the youngest members of my family, the grand nieces and nephews. I hope the kids like them. I think they turned out so cute. These are so easy to make and requires no sewing (except for threading the hanger onto ornament).
I had to refrain from posting about these cuties due to the fact that maybe some of their parents read this blog. I wanted them to be surprised too. So, this post was written in advance and scheduled for late on Christmas day.
