
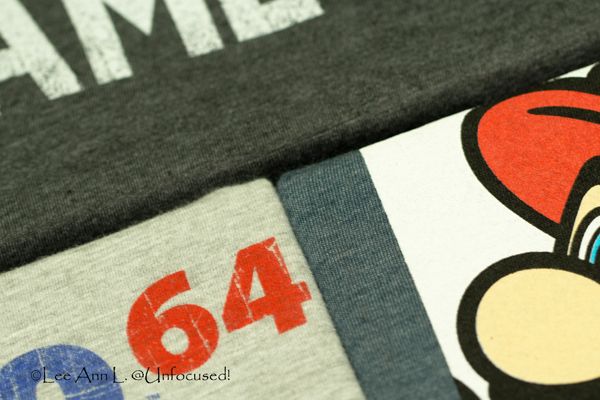
As promised to a friend, here is the process or "tutorial" on how to make a canvas wall art out of a t-shirt. But first, I must tell you that I started out with a different t-shirt. I even had an annoying helper, Abby Gail.
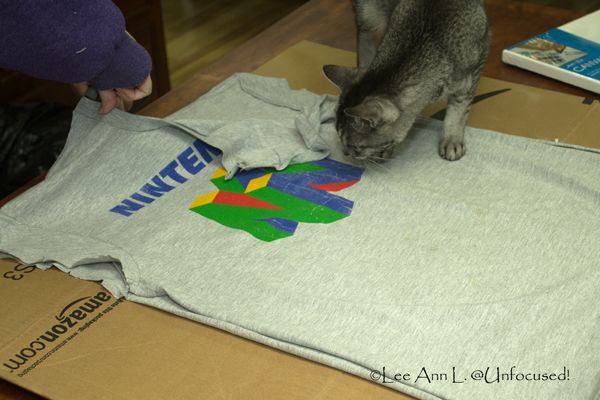
And then, I totally got distracted and forgot about taking pictures. So, y'all are fortunate that I wanted five of these things. Yes, five!
I was able to start the process all over again. I was successful in my endeavors with the fourth one I made. So, here is the process. By the way, this is in no way a professional "how-to" with pictures. I did the best I could under the circumstances. It is what it is.
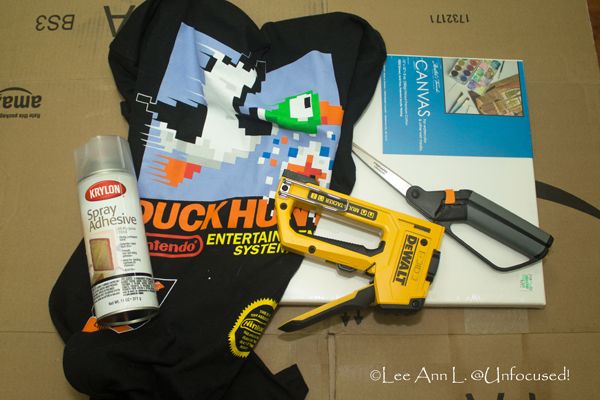
You will need the following:
- T-shirt. New or used. Mine was 50% off from Kohl's making it $10.00.
- Spray Adhesive. Nake sure it is good with fabrics.
- Staple Gun.
- Scissors.
- Canvas. Mine was 12x12 and purchased from Hobby Lobby at 50% off.
If you plan to do this indoors, I would recommend
- a decent sized cardboard box. Flattened.
- a respiratory mask. I didn't use one as I had a well ventilated area with a humidifier. Plus, I was lazy and took frequent breaks.
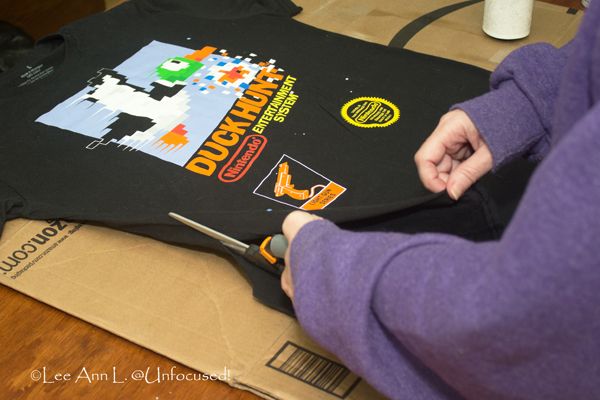
Step 1
Cut the shirt along the sides, seams of sleeves and shoulders. Keep the back of shirt.
Step 2
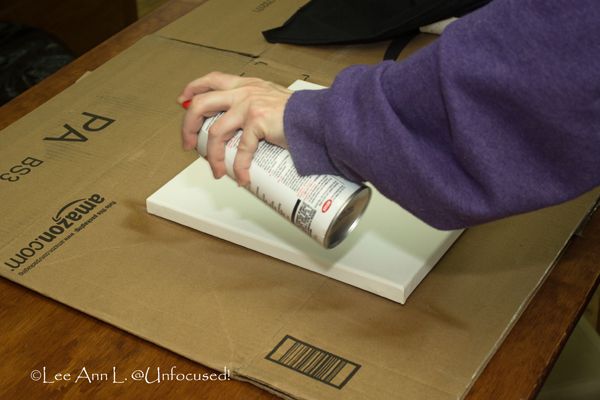
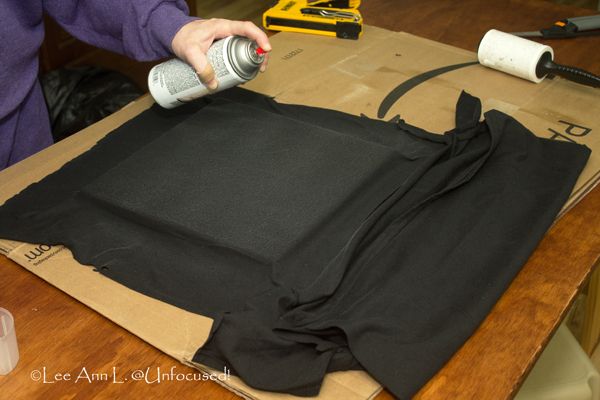
Spray the adhesive onto canvas (after following instructions on the can).
Carefully lay the back of shirt onto canvas and smooth down.
Note: You do not need to do this step. However, I preferred to do this to keep the white of the canvas showing through the top of the shirt itself.
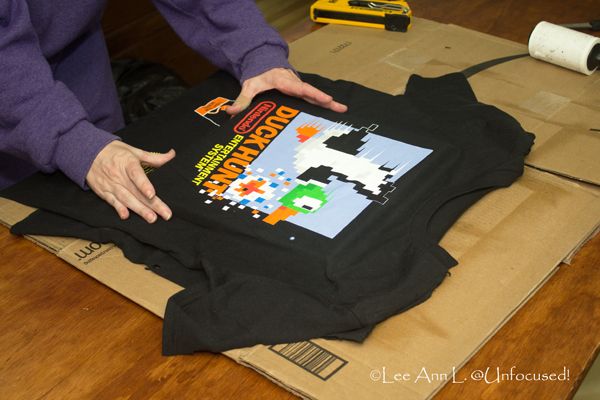
Step 3
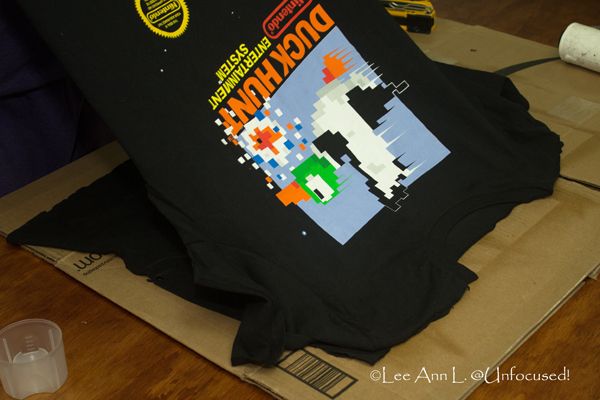
Dry fit the top of shirt onto the canvas.
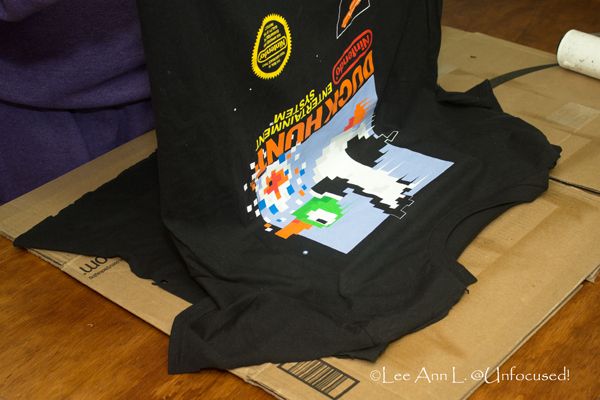
Step 4
Once you have the top of shirt positioned, carefully lift it and let it puddle at the top on cardboard.
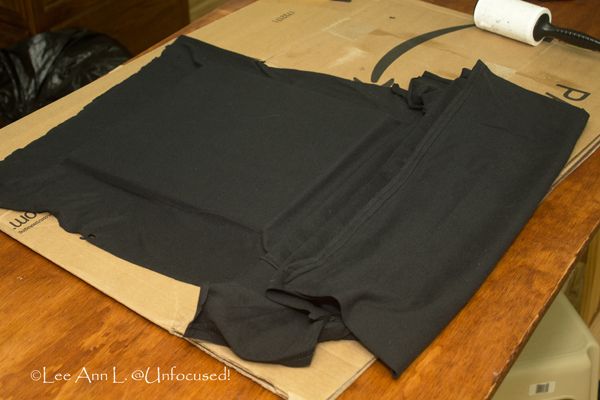
Step 5
Spray the backing of shirt on canvas with adhesive.
Step 6
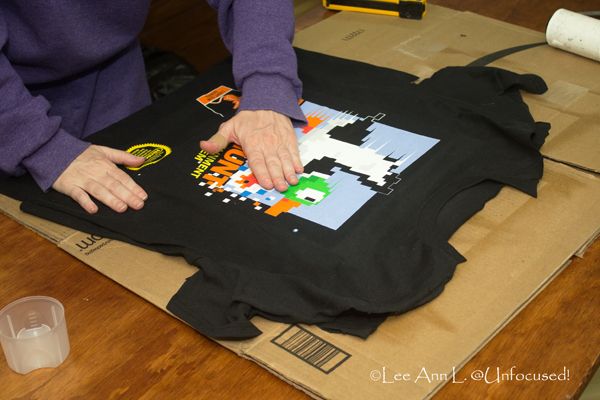
Carefully lift the puddled shirt and lay it back down onto the canvas. Smooth it down in place.
Step 7
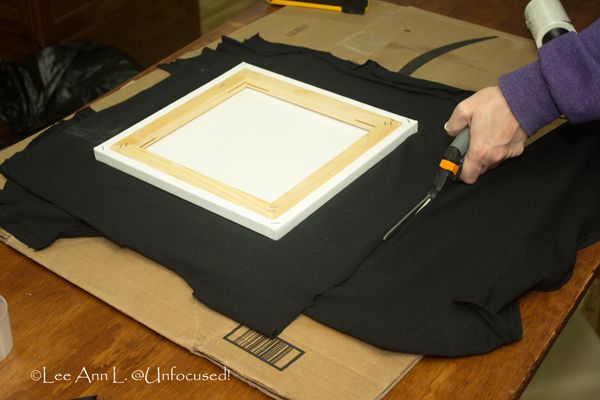
Flip the canvas over and cut away extraneous fabric leaving enough on all four sides to staple to the backside of canvas.
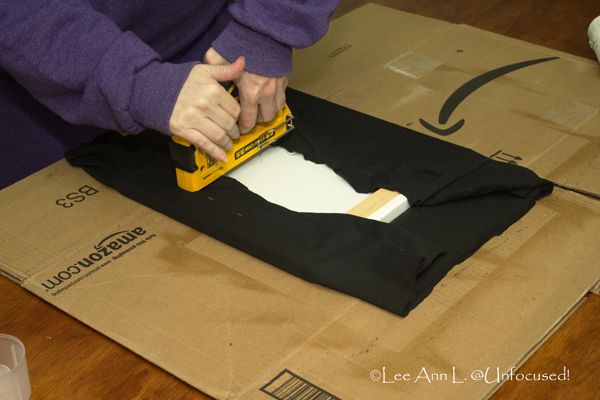
Step 8
Begin by lifting one side of shirt onto backside making sure wrinkles are smoothed out. Carefully place a few staples through the shirt onto the canvas. You will need to leave room near the corners to be able to manipulate and fold the fabric to make the nicest corners possible.
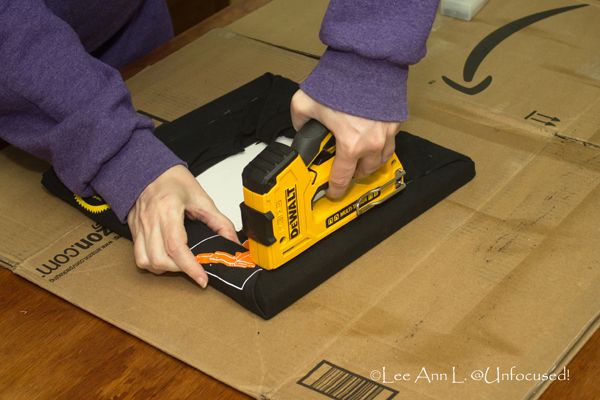
As for the corners themselves, I pretended I was wrapping presents. It is a little difficult and you need patience to do this part. I ended up making two creases per corner. Once I had the corners just right, I stapled the fabric in place onto canvas. There was no easy way to show how this was done via pictures. What I really needed was an assistant to help out with the photography part. Abby Gail was completely useless. Ha!
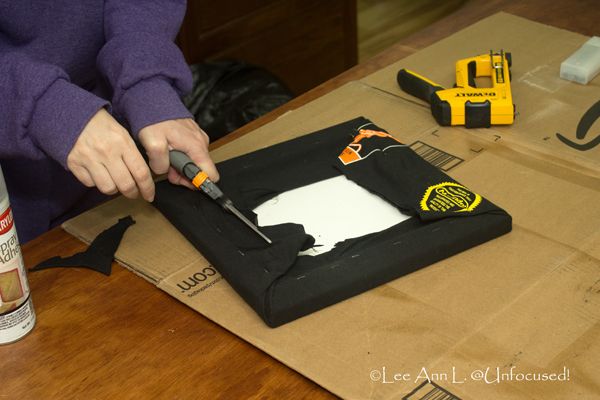
Step 9
Trim off excess fabric. Do not cut too close to the staples. It is better to leave too much fabric than not enough.
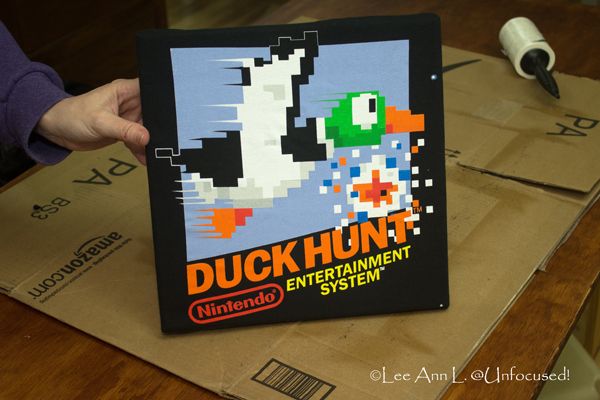
And, here is all five!
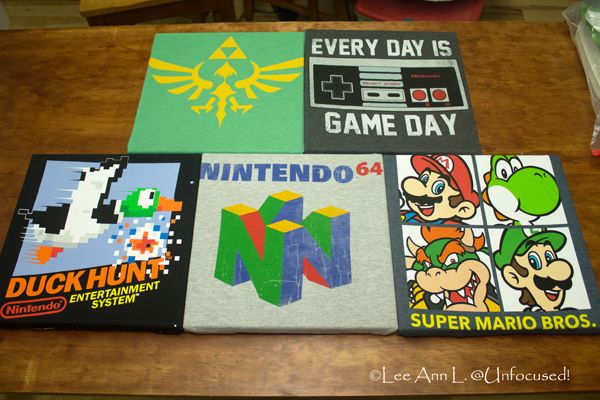
These were fairly cheap to make. I purchased the t-shirts for $10 each (50% off at Kohl's). You can use gently used shirts that you have on hand too. I bought the canvas on sale from Hobby Lobby. I already had the other supplies on hand. So, I guestimate that it is approximately $15 for each t-shirt wall art.

No comments:
Post a Comment
Thank you so much for leaving me a comment. I always love hearing from you!