Pages

Showing posts with label nightstand. Show all posts

Tuesday, August 23, 2011

DIY Tuesday: Trash to Treasure (Finale)


Trash to Treasure: Before Pictures
Trash to Treasure: Part II
Trash to Treasure: Part III
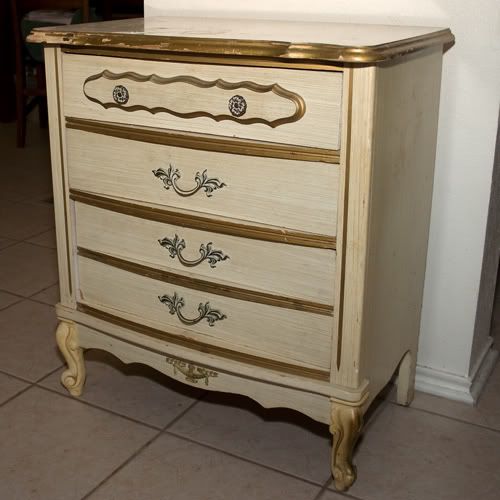

Just in case you need a reminder of what this nightstand looked like before the change
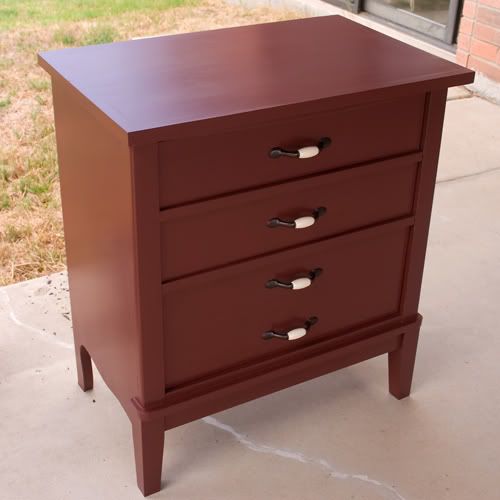
The Final Product!

I am planning to get a glass top to protect the surface. This nightstand is now in the room by the bed and it is mine. I am so happy. After 14 years of dealing with a cheap round table with a tablecloth, this takes the cake!

I absolutely love how this nightstand turned out and the color goes extremely well with the existing furniture in the bedroom. I am tickled pink with this project. And, Dan is extremely pleased with it too.

The total cost of this project (not counting the glass I am planning to get for the top) was less than $50. We purchased the handles, the most expensive part of the entire project. We also purchase wood for the new feet and sides, paint and a couple of paintbrushes and sandpaper. We already had the rest of the supplies.

Not bad for a rescued piece of trash.

By the way, work on the DIY desk has been restarted last Sunday. It will be Dan's and I think he is looking forward to having something substantial for a nightstand besides a cheap rickety old round table.


I am linking up at:
  Creations by Kara      Todays Creative Blog  The Shabby Nest

Tuesday, August 16, 2011

DIY Tuesday: Trash to Treasure (Part III)


Trash to Treasure: Before Pictures
Trash to Treasure: Part II

This project is 95% completed. It just needs a couple more coats of Polycrylic on it and then the handles put on. One last thing I will do in the future is get a protective glass cut for the top of the dresser aka nightstand.


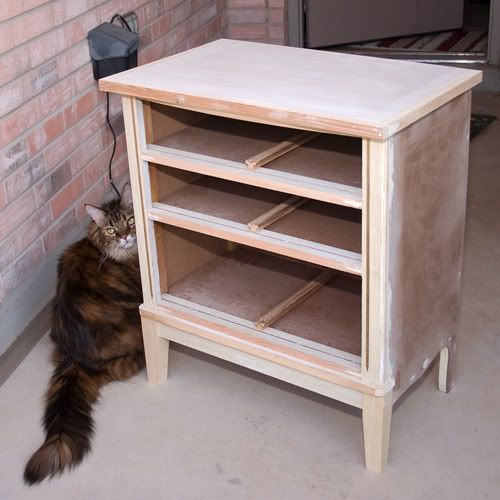
Dresser with the sides and back put on
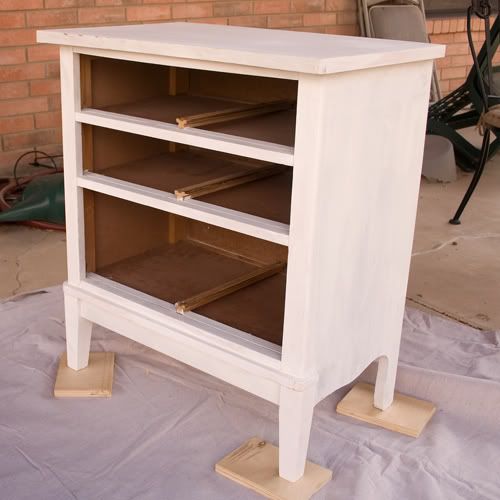
All ready for priming and painting


Chessie had to come out and check on the dresser

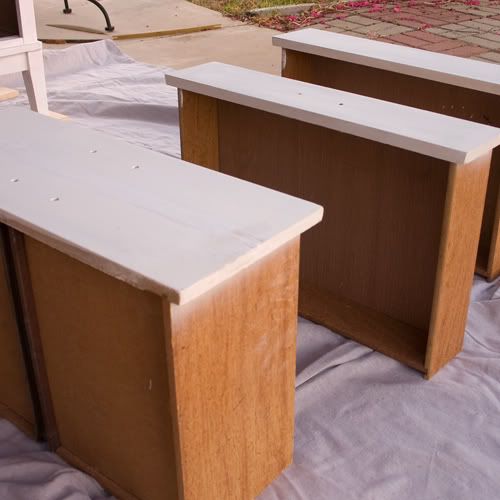
Drawers Primed

Dresser Primed

The dresser has been painted. We still need to put at least one more coat of Polycrylic all over and another two coats on top of the dresser to give it additional protection as I don’t know how long it will be before I get the special glass for the top.
Dear Sister-in-law,

I am so sorry this isn’t finished yet. We honestly had all the intention in the world to get this finished over this past weekend; but, other things interfered with our plans. I know the suspense is killing you. Soon, sister, soon it will be done. Hang in there.

With all my love,

Lee Ann

PS: Ha!


Tuesday, June 7, 2011

DIY Tuesday: Trash to Treasure (Part II)


Trash to Treasure: Before Pictures

I had originally posted pictures of a nightstand knowing my sister-in-law would give me grief for not posting more on the progress we did on the furniture. Sure enough, that afternoon (after I posted), I received a message from her giving me grief because I had not showed more! It made me laugh! I sure love to tease people. She knew that we had done some work on the nightstand and wanted to see pictures.

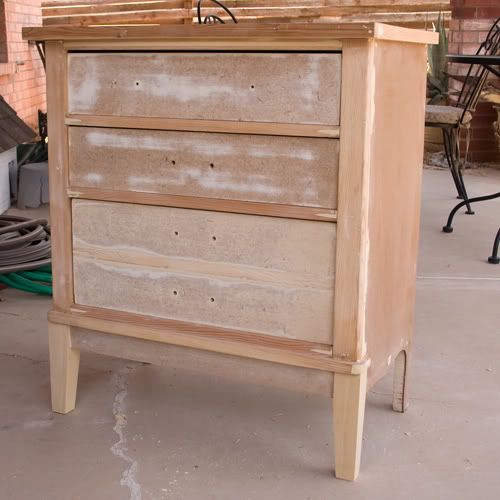
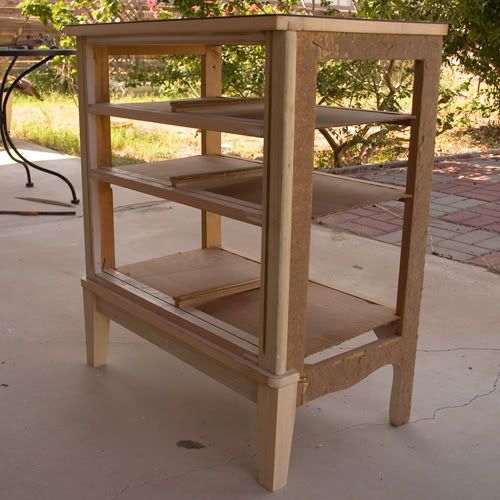
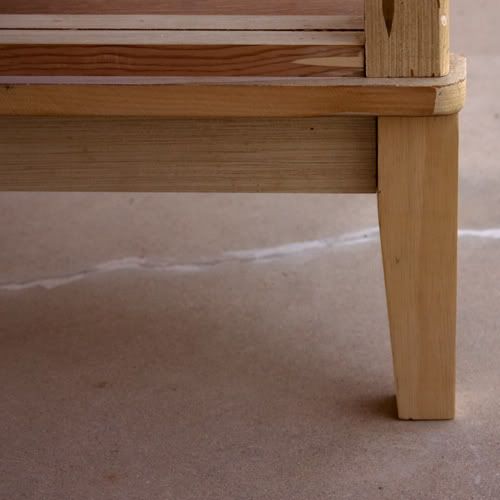
We are about halfway through the work on this particular piece of furniture. I am real pleased on the progress. The making of the new legs slowed us down because he had to figure out how to make them. Things should progress faster now that the new legs are on the furniture.

Here are a few pictures I took of the work in progress:

April 30th, 2011 (the day we rescued the nightstand):


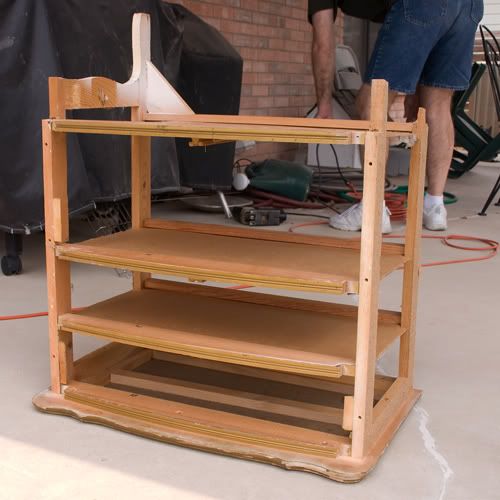
Stripped Down to the Bare Bones

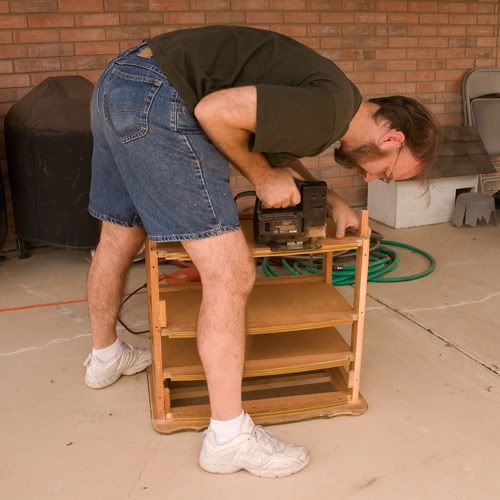
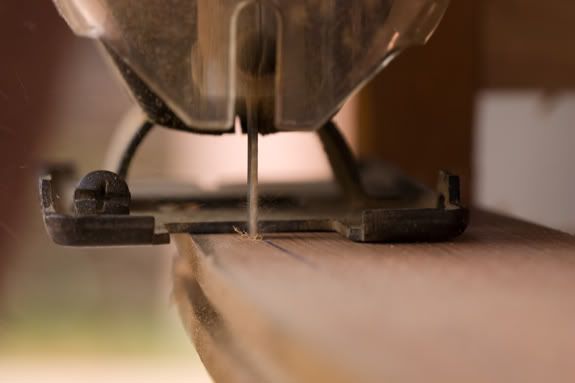
First Tried Using Jigsaw to Straighten the Ugly Curves

No Reason for this Picture – Just Thought it was a Cool Shot

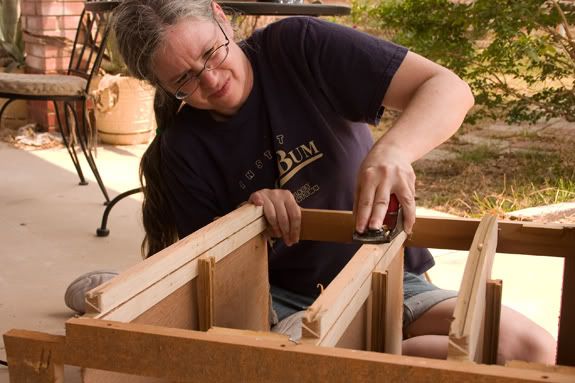
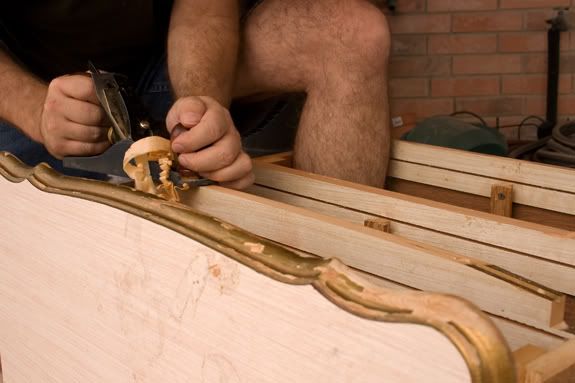
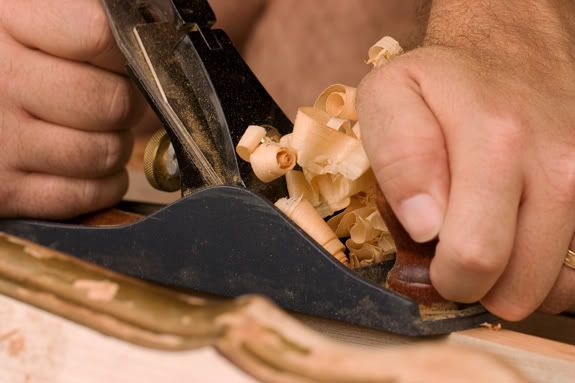
Attempting to Smooth the Edges with a Plane

Dan Took Over – it was Easier to Use a Plane Rather than a Jigsaw

Another Meaningless Picture – Thought it was a Cool Shot

We also squared the top of the nightstand. I have no pictures of this process. I have no clue to why. Maybe I got tired of taking pictures. ha! Anyway, it was done with a plane too.

On Approximately May 7, 2011:


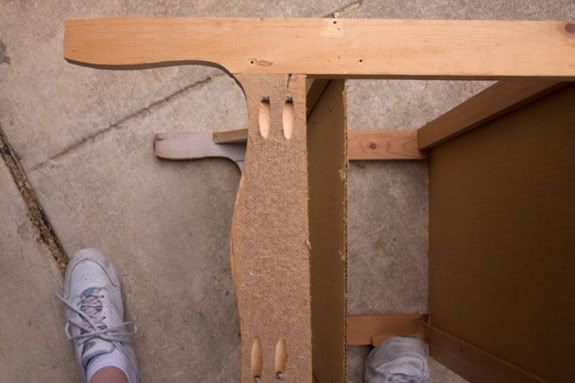
A New Back Leg/Foot and I’m Not Talking About the Legs Attached To the Human Feet. Ha!

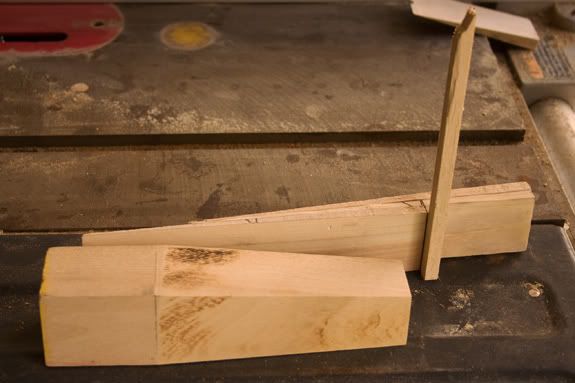
It took Dan some time to come up with a jig that would work for creating the new front feet using the table saw. Both of us really did not want to spend more money than necessary. And, life took priority over this project (and all others).

June 4th, 2011:


Dan’s Rigged Jig (in the background) Helped Create the New Simple Foot

We then had to get a few supplies such as bolts to screw the new feet onto the nightstand. Fortunately for us, we found some at Walmart. So, we did not have to make a run to Home Depot or Lowe’s.

June 5th, 2011

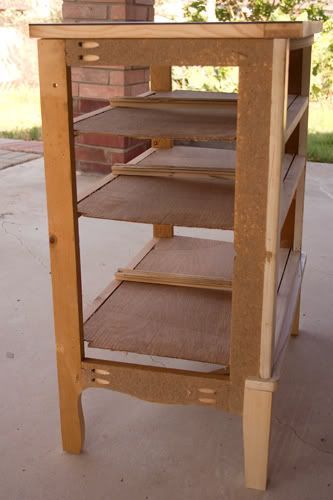
New Gorgeous Feet

Close-up Shot

Side Perspective

This is the current state of the “Trash to Treasure” project. The next step is to create and attach the new sides to the nightstand along with the old backing. Once that is done, we then will prime and paint the nightstand and its drawers and put on the new handles. It is so close to be done!

Tuesday, May 17, 2011

DIY Tuesday: Trash to Treasure


On Saturday, April 30th, I went for my usual walk and I spied a nightstand out on a curb waiting for the trash man to come and pick it up. I took a look at it and started thinking…

A little while later, I made the decision that I would like to try to salvage the nightstand and totally change the look. I asked Dan to take a drive with me to check it out. He gave the “go ahead”. We took off with it feeling rather weird for dumpster diving. But hey, if this works, I will get a cheap nightstand out of the process.

When we got it home, we made the decision to postpone the work on the desk because I felt that the work on this nightstand would go quicker. The work on the desk is slow going as we do not want to destroy it in the process. It really was put together by an amateur woodworker. Dan found sandpaper between two pieces of wood. He had hoped it was newspaper with dates. Ha!

Anyway, we have been working on this "trash to treasure" in our spare time. Actually, in Dan's spare time. I would say that it is about a third of the way done. So far, I am thrilled with the results. I have always had round tables with skirts. I must confess that I hate them. I have been looking forever for nightstands; but, I am too cheap to spend a lot of money to replace something that we already have that is functional. I am excited about getting a "new" nightstand soon!

Below is the trash (before) pictures of the nightstand.


UGLY!
Shocking News: The Medallions are Plastic! Ha!

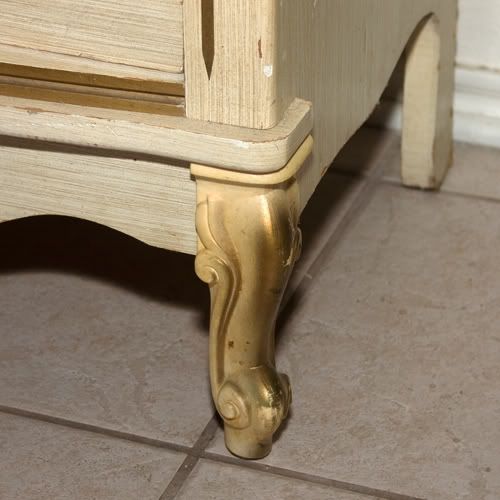
Details of Ugly Feet.
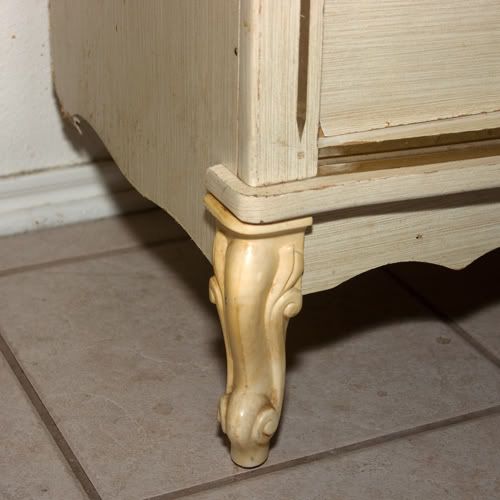
More Shocking News: The Feet are Plastic Too!

More Details of Ugly Feet Including a Broken Back Foot.

I have been taking pictures of the work on it periodically. I plan to post pictures of the process when it's almost done (before painting). I also plan to post pictures of the completed nightstand (after painting).